Van Conversion Progress: The End of Demolition and The Start of the Build
It has been a busy few months for us and our VW Crafter conversion! We’re really excited to be able to share a proper update with you all on the (slow) progress we’ve made so far.
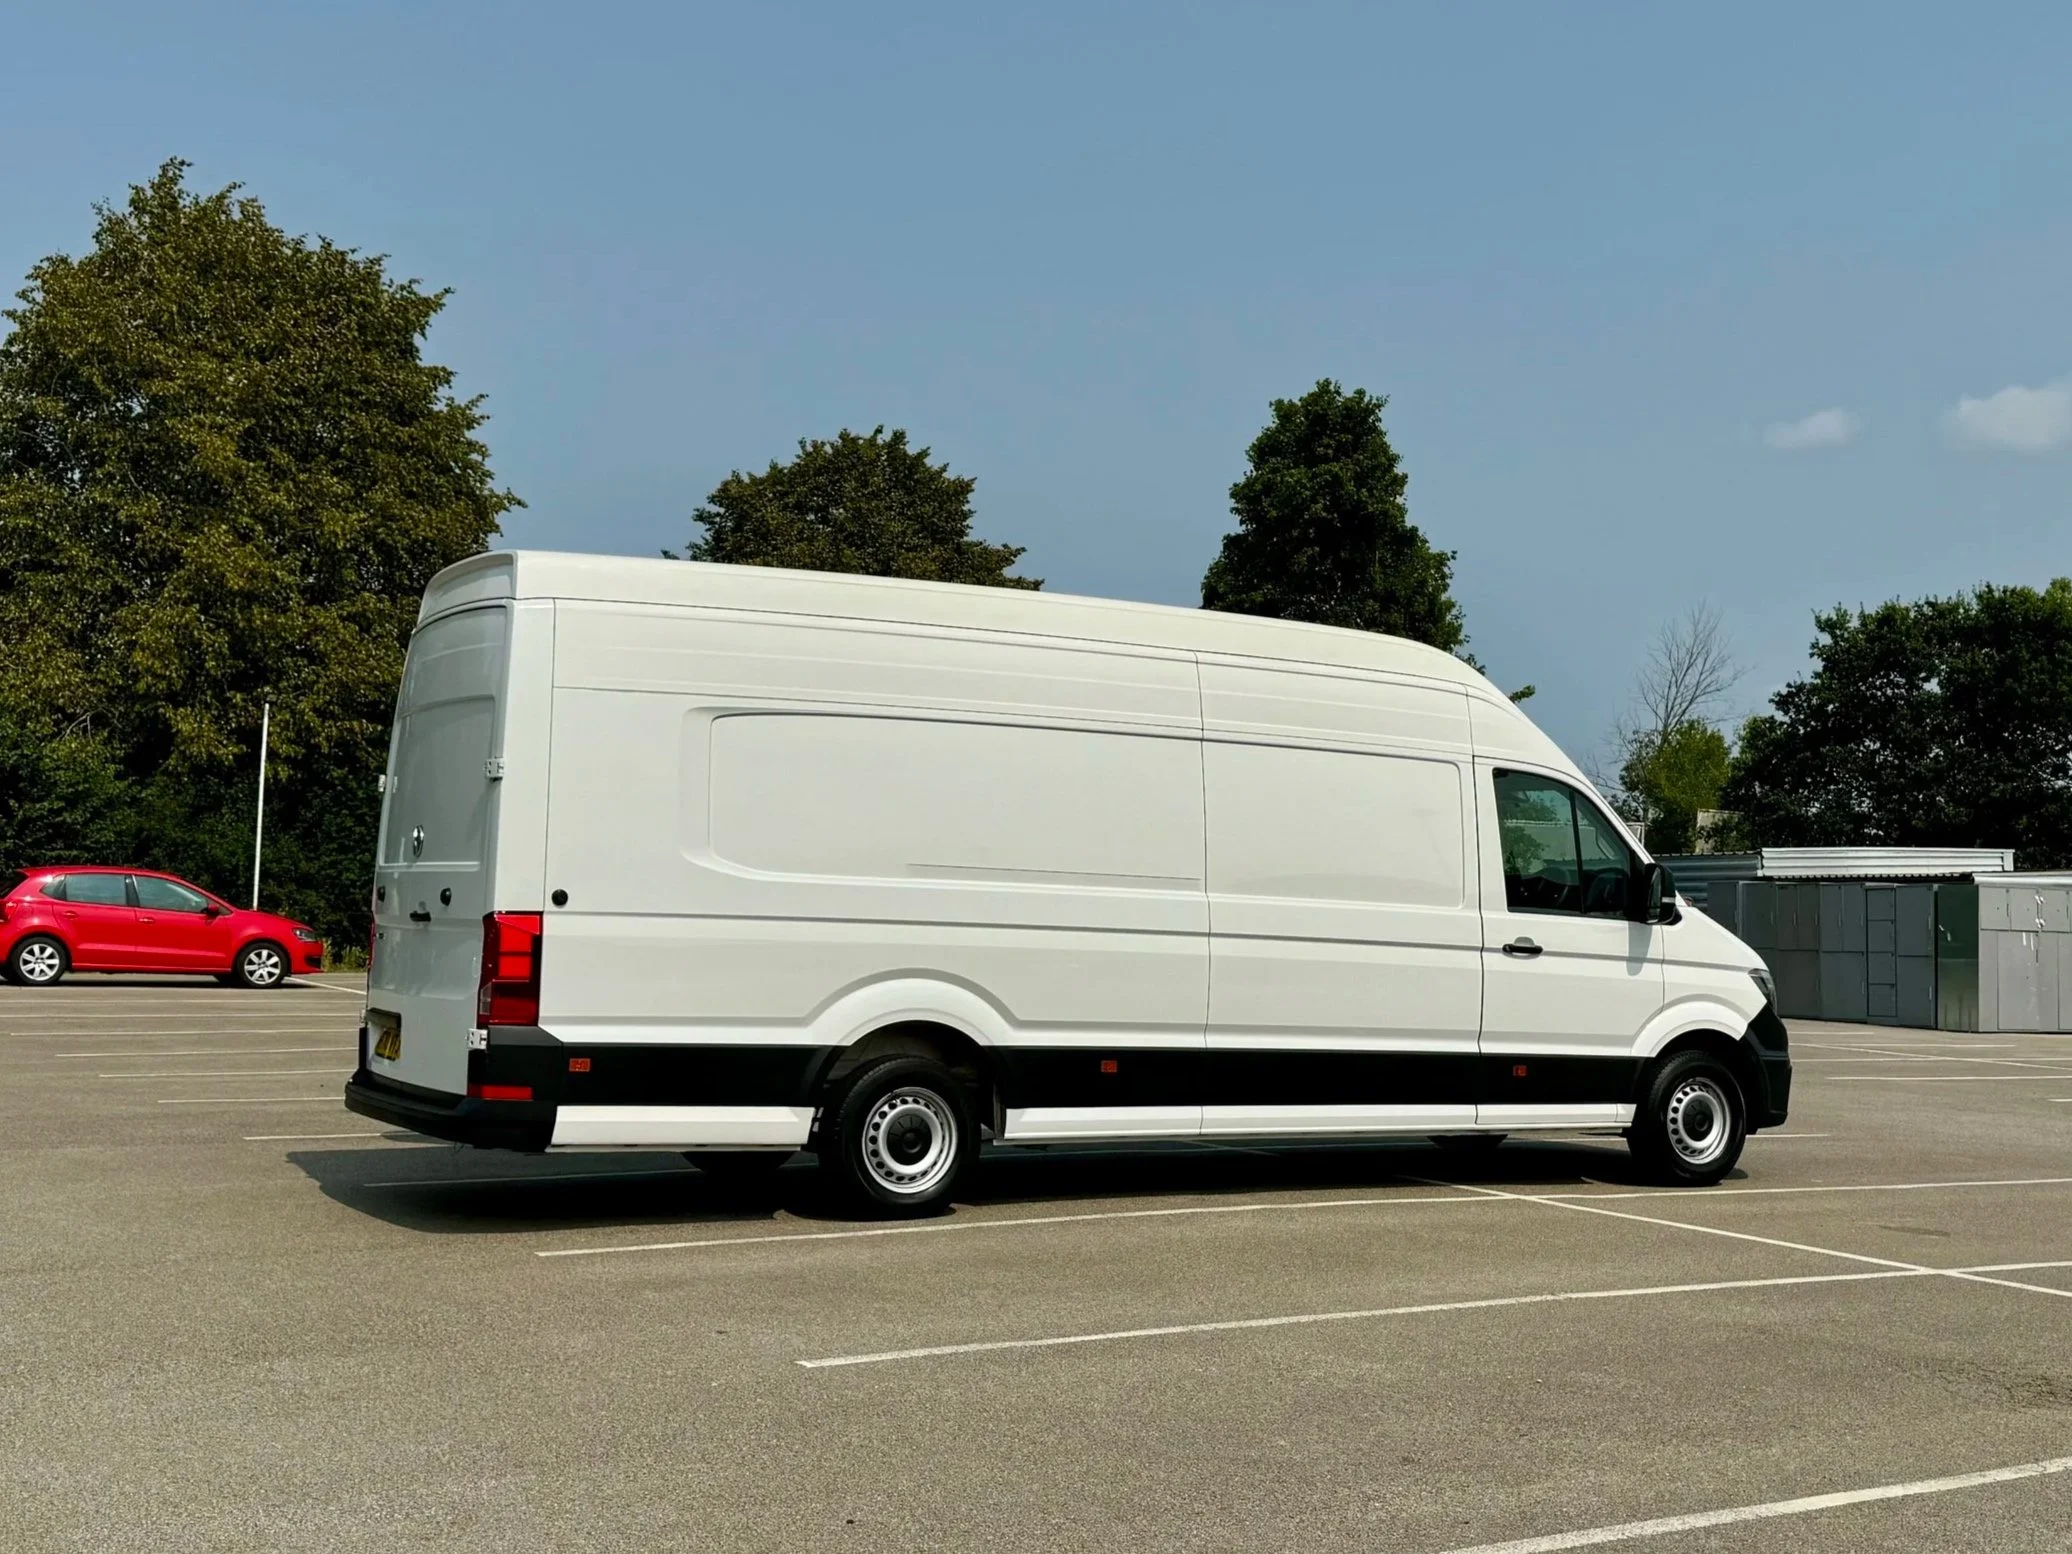
We have finally moved past the scary stage of stripping the van down and are now in the hard but rewarding work of building the shell. We’ve had some big successes, such as seeing light flood in through our new windows and our roof rack being fitted, but also those classic headaches that required a total re-do.
If you’ve ever wondered what it takes to turn a boring white panel van into a functional home then keep reading! We are sharing all the progress we’ve accomplished, all the things we’ve had to backtrack on, and what massive jobs are coming up next!
A New Chapter!
It has been a whole year of hard work, lots of stress and unfortunately a few ‘friends’ walking away due to our plans not fitting the ‘norm’, but we have made it out the other side and have finally moved in with family in the north! This transition has been massive; not only are we slowly adapting to a new way of life and a new community, but we’ve also started home educating.
It’s a lot to juggle, but we are working through everything slowly. With a new parking spot for our van, our focus has sharpened, and we’re ready to really crack on with the build!

Windows, Insulation and Setbacks!
Before Christmas, we made some really good progress in the conversion, and the van was starting to feel less like a boring panel van used for trade and more like our future home on wheels!
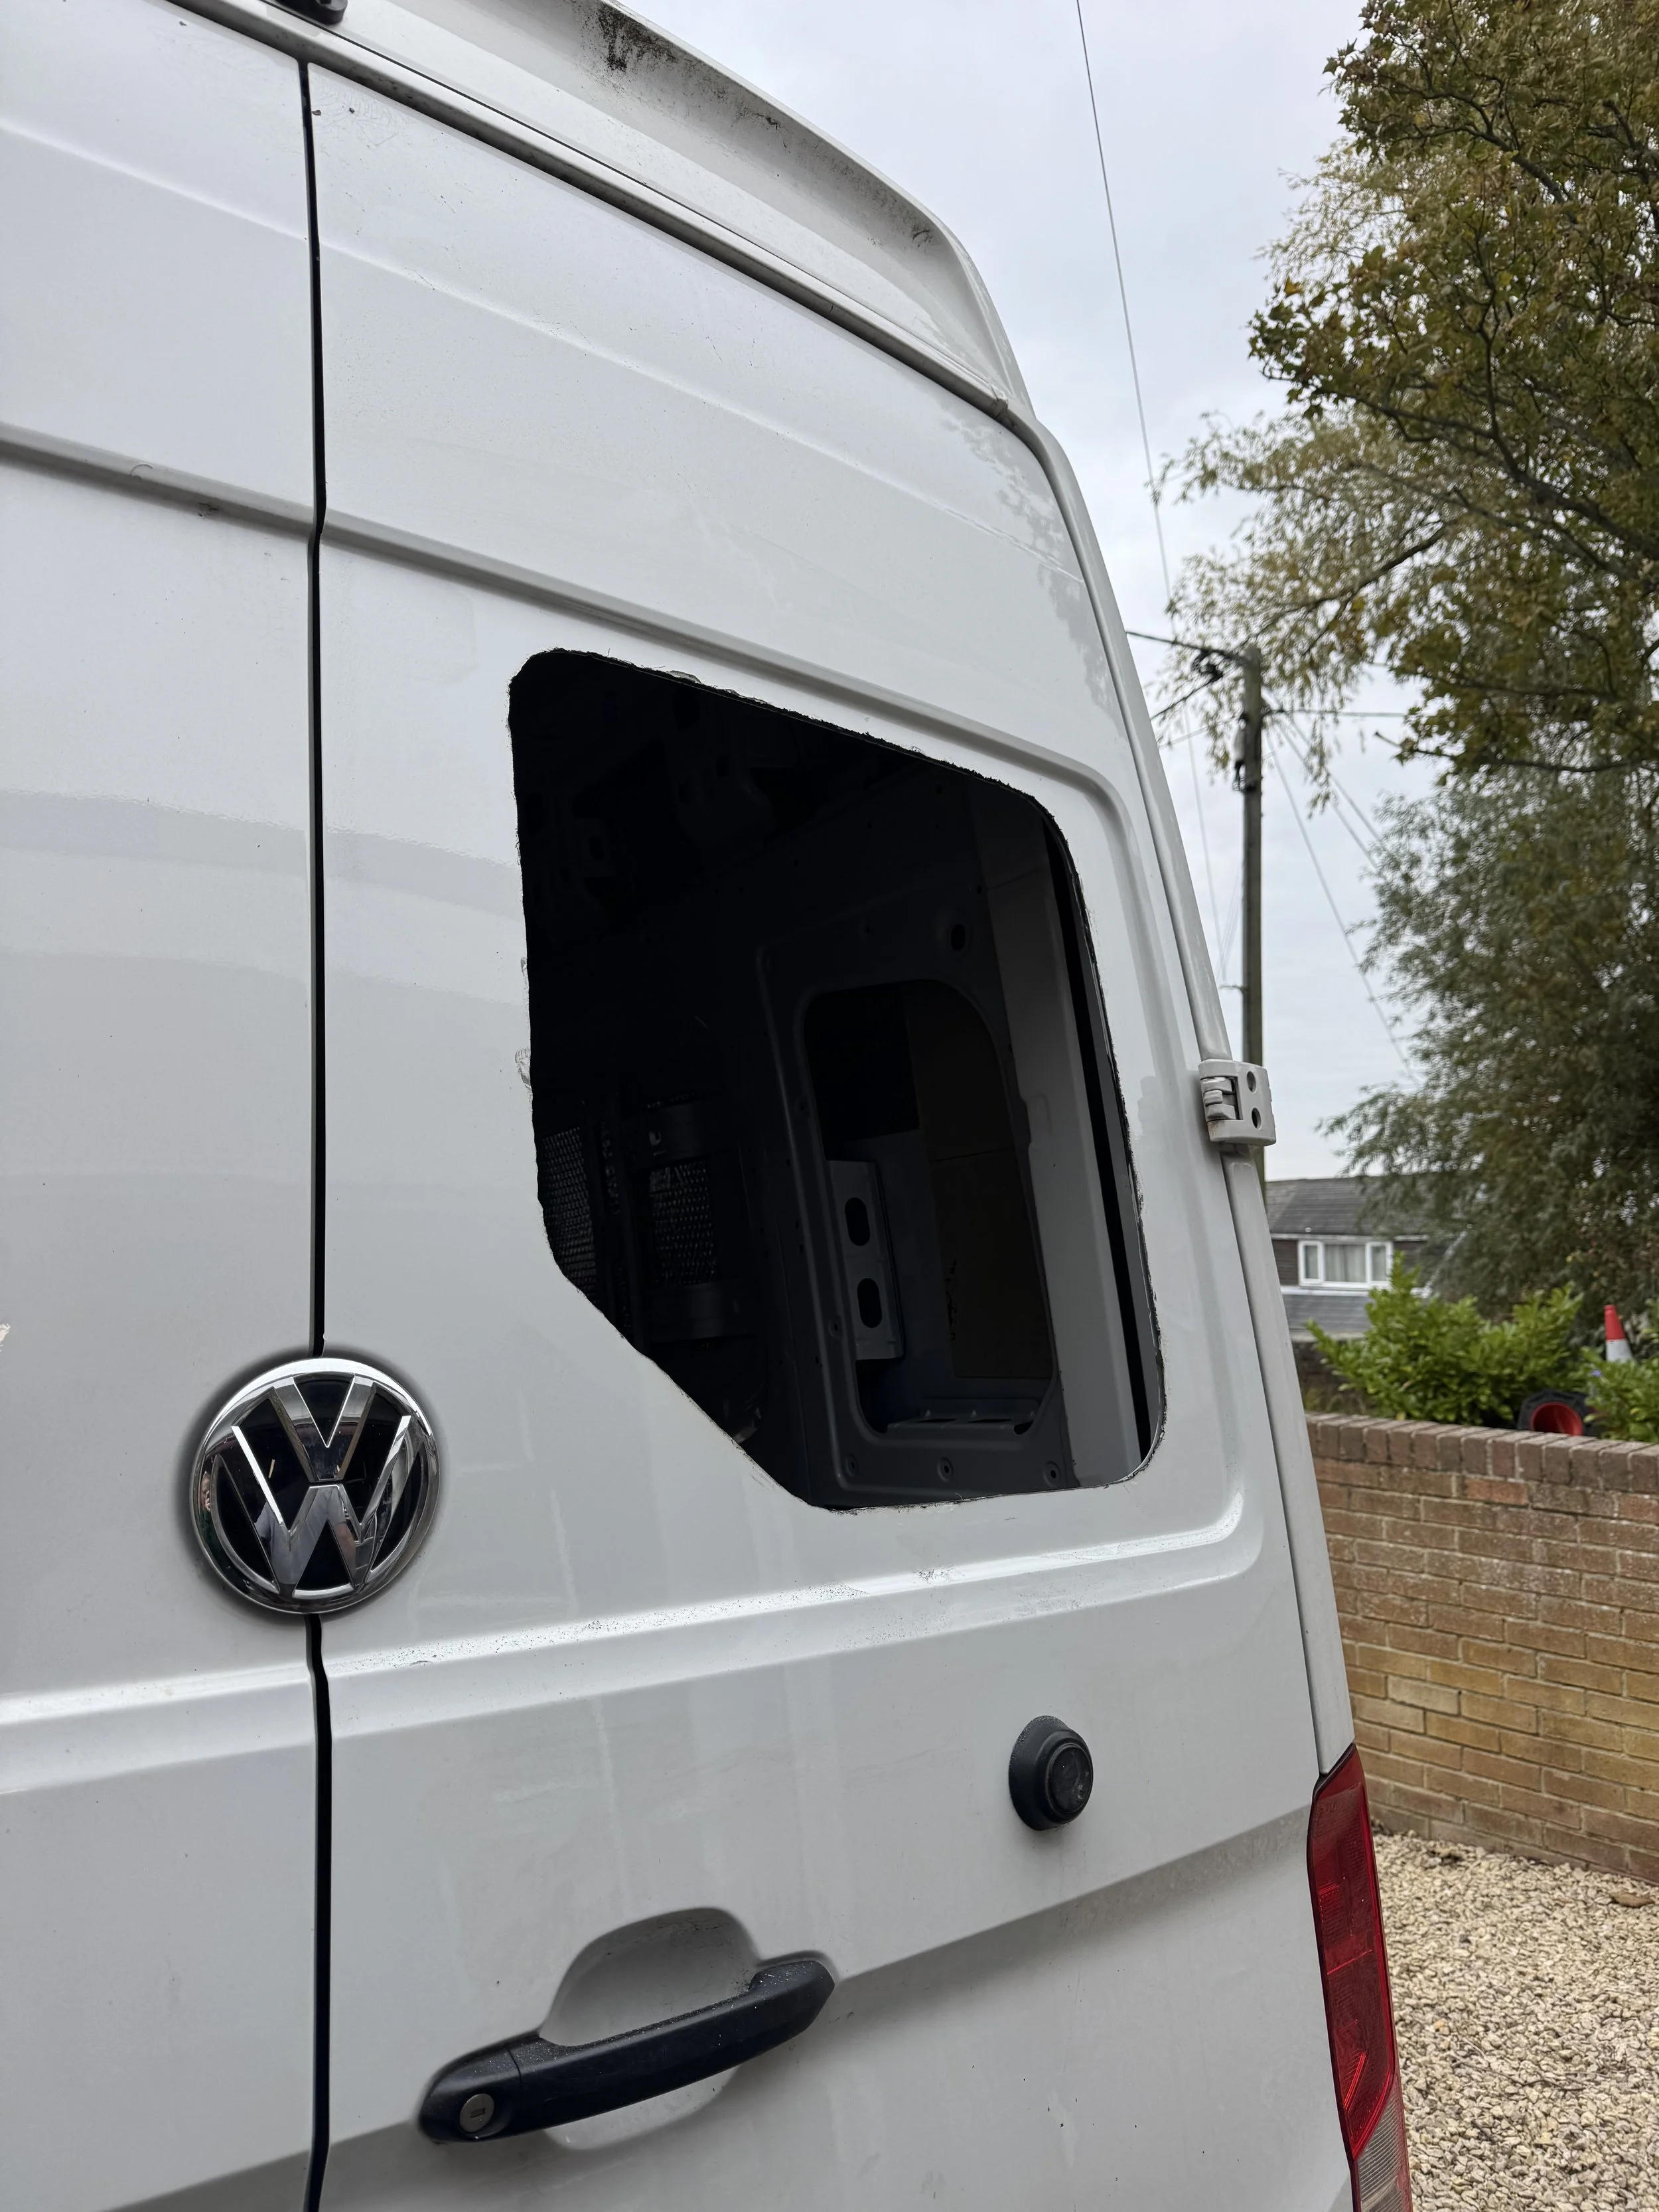
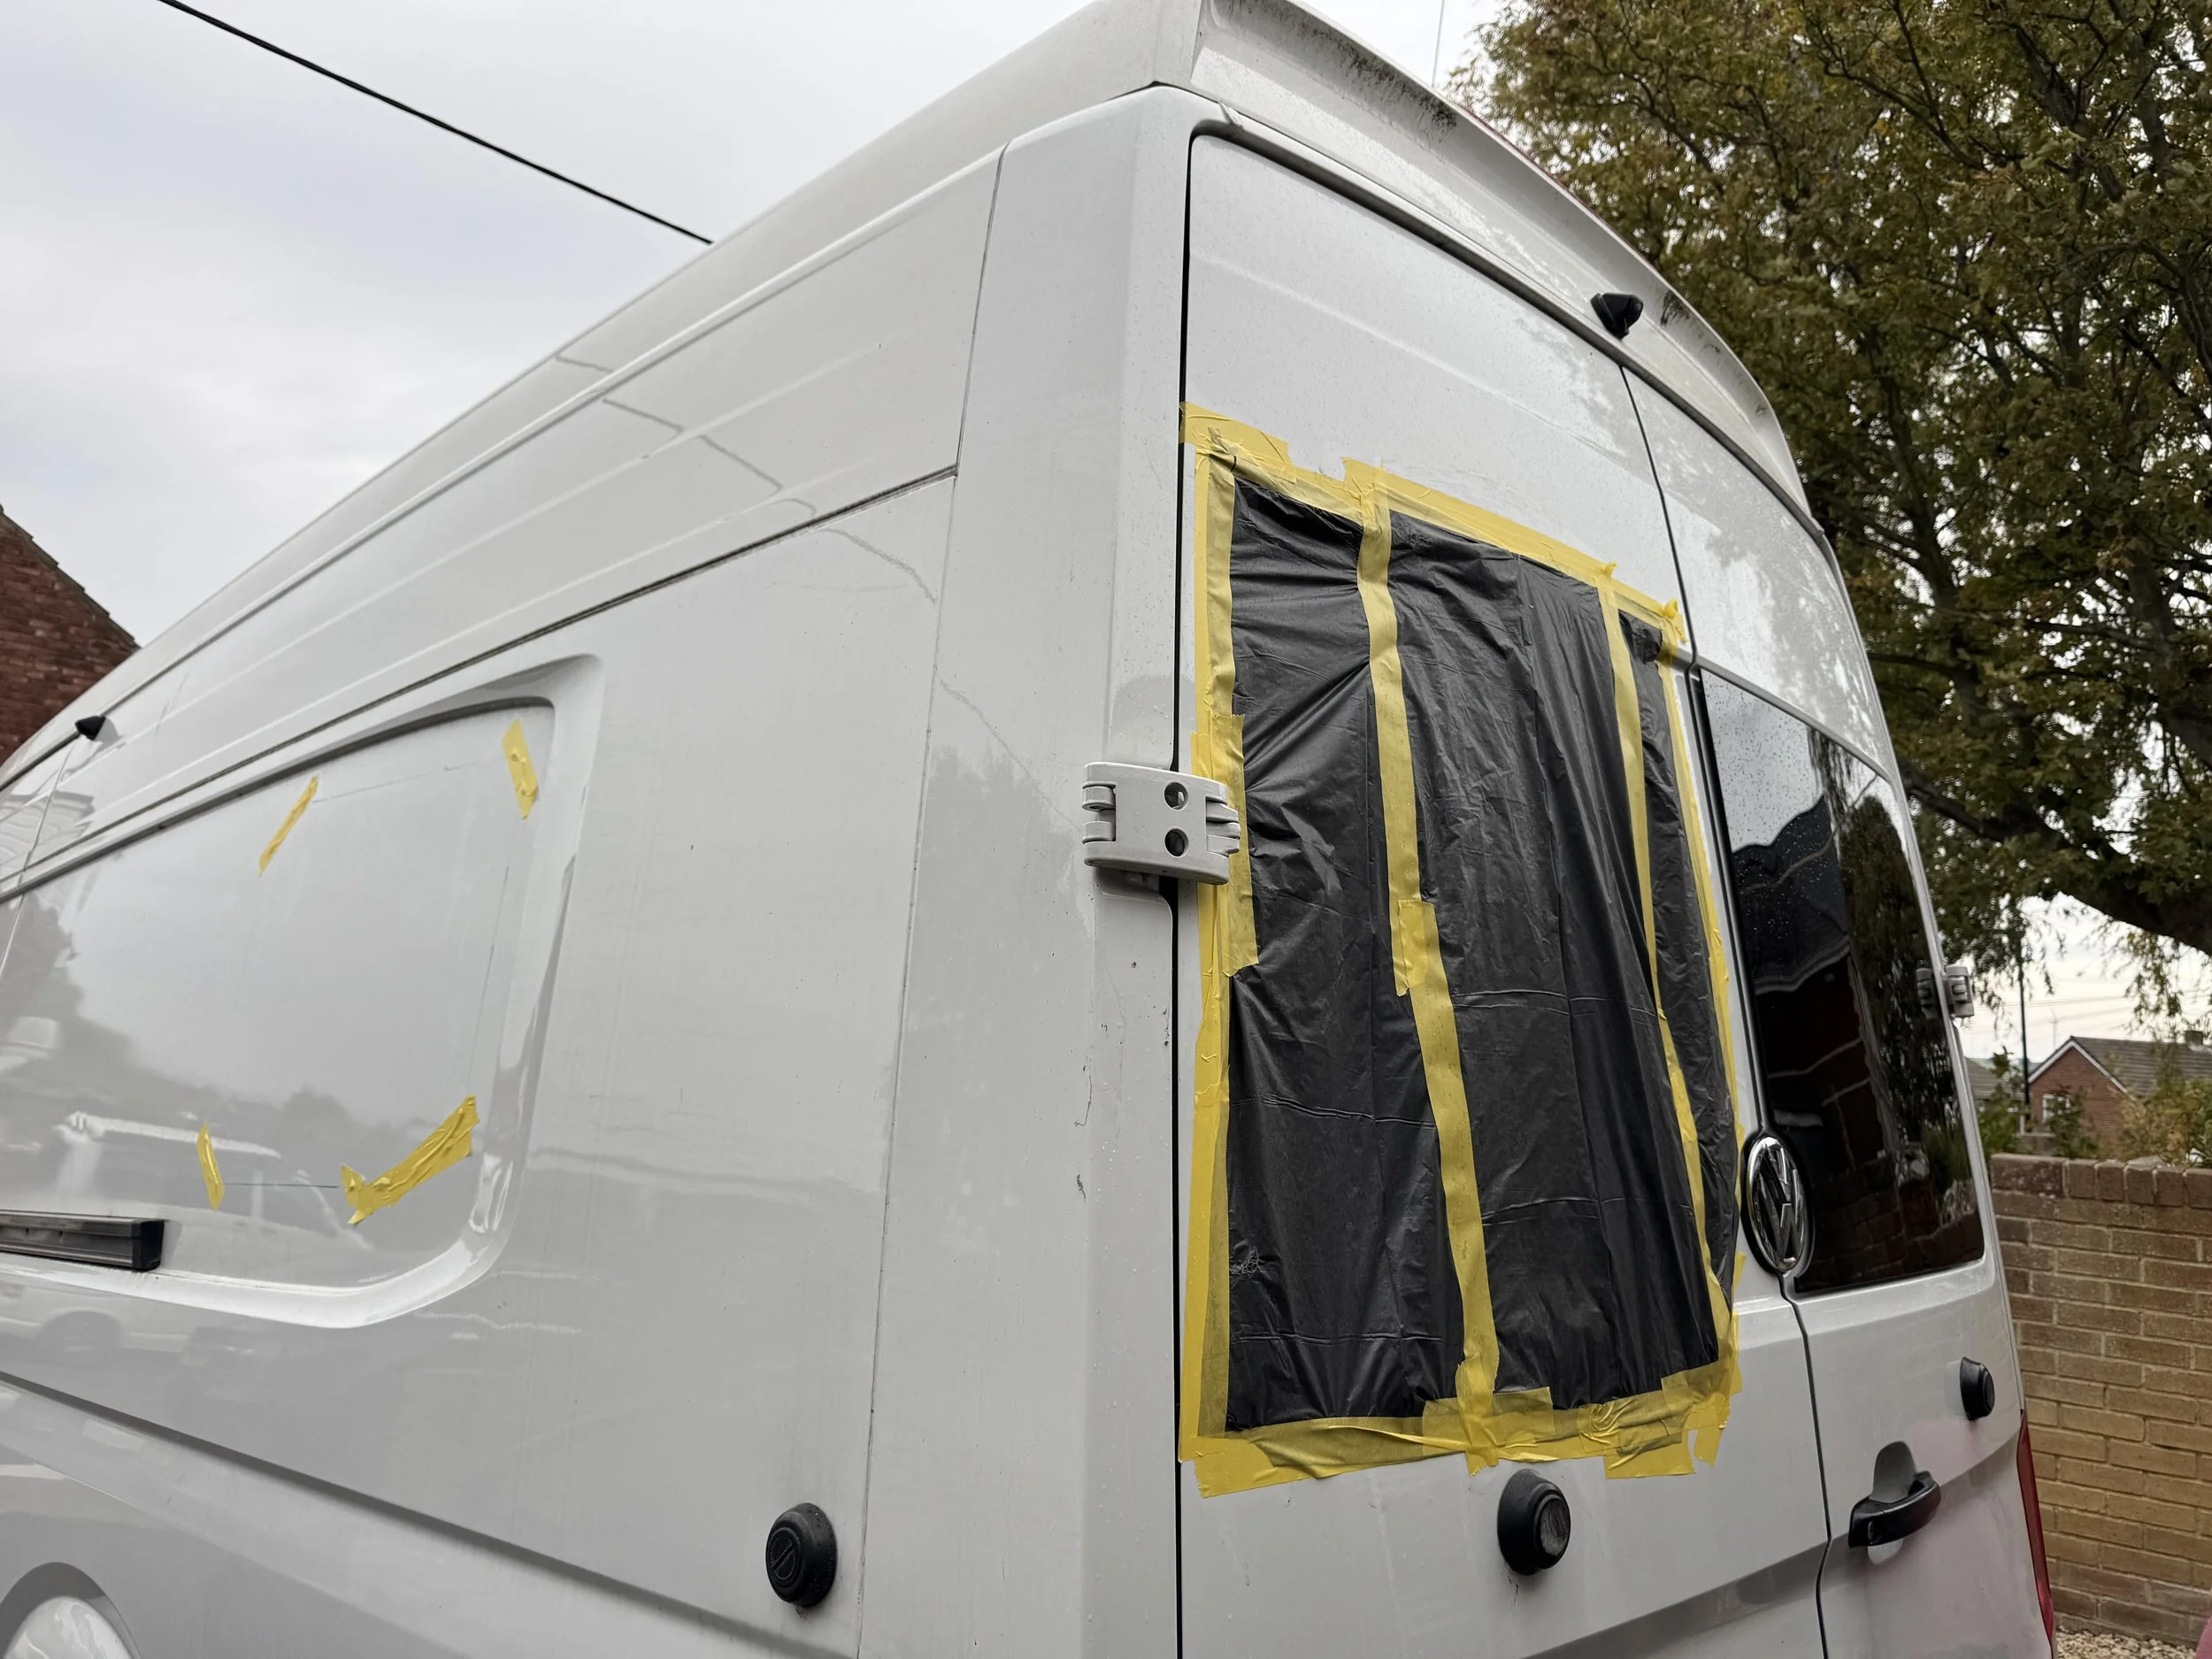
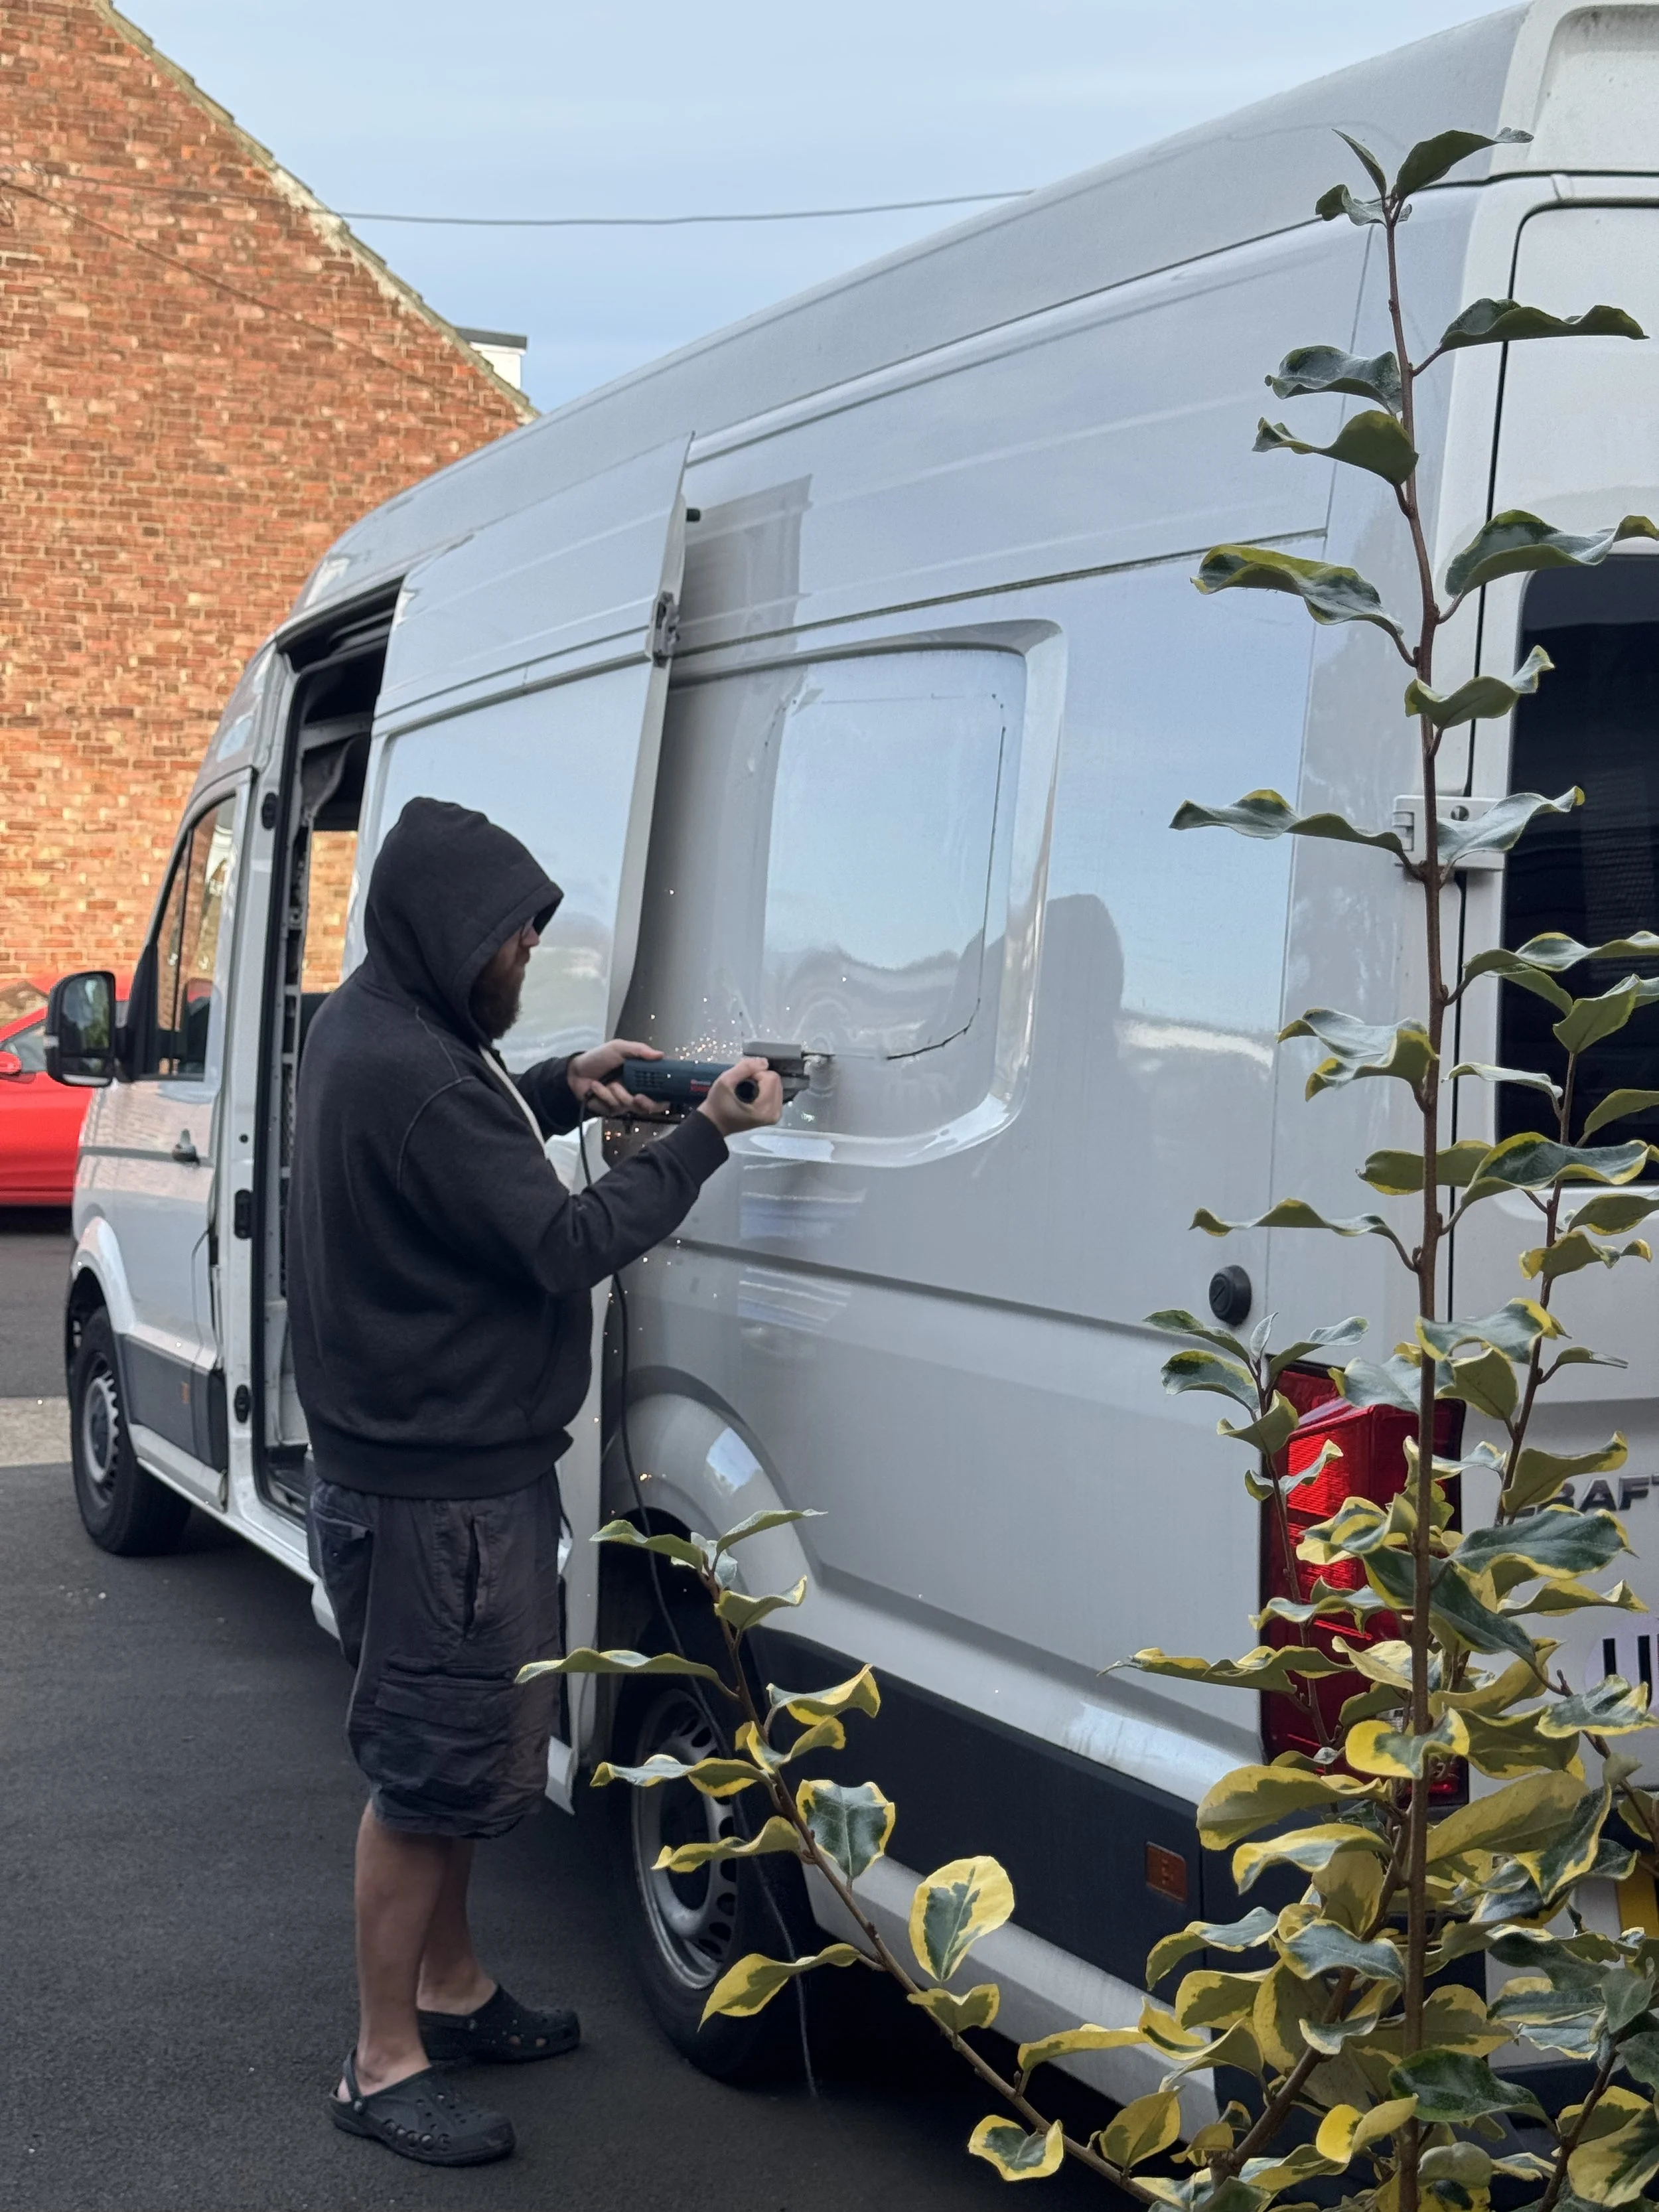
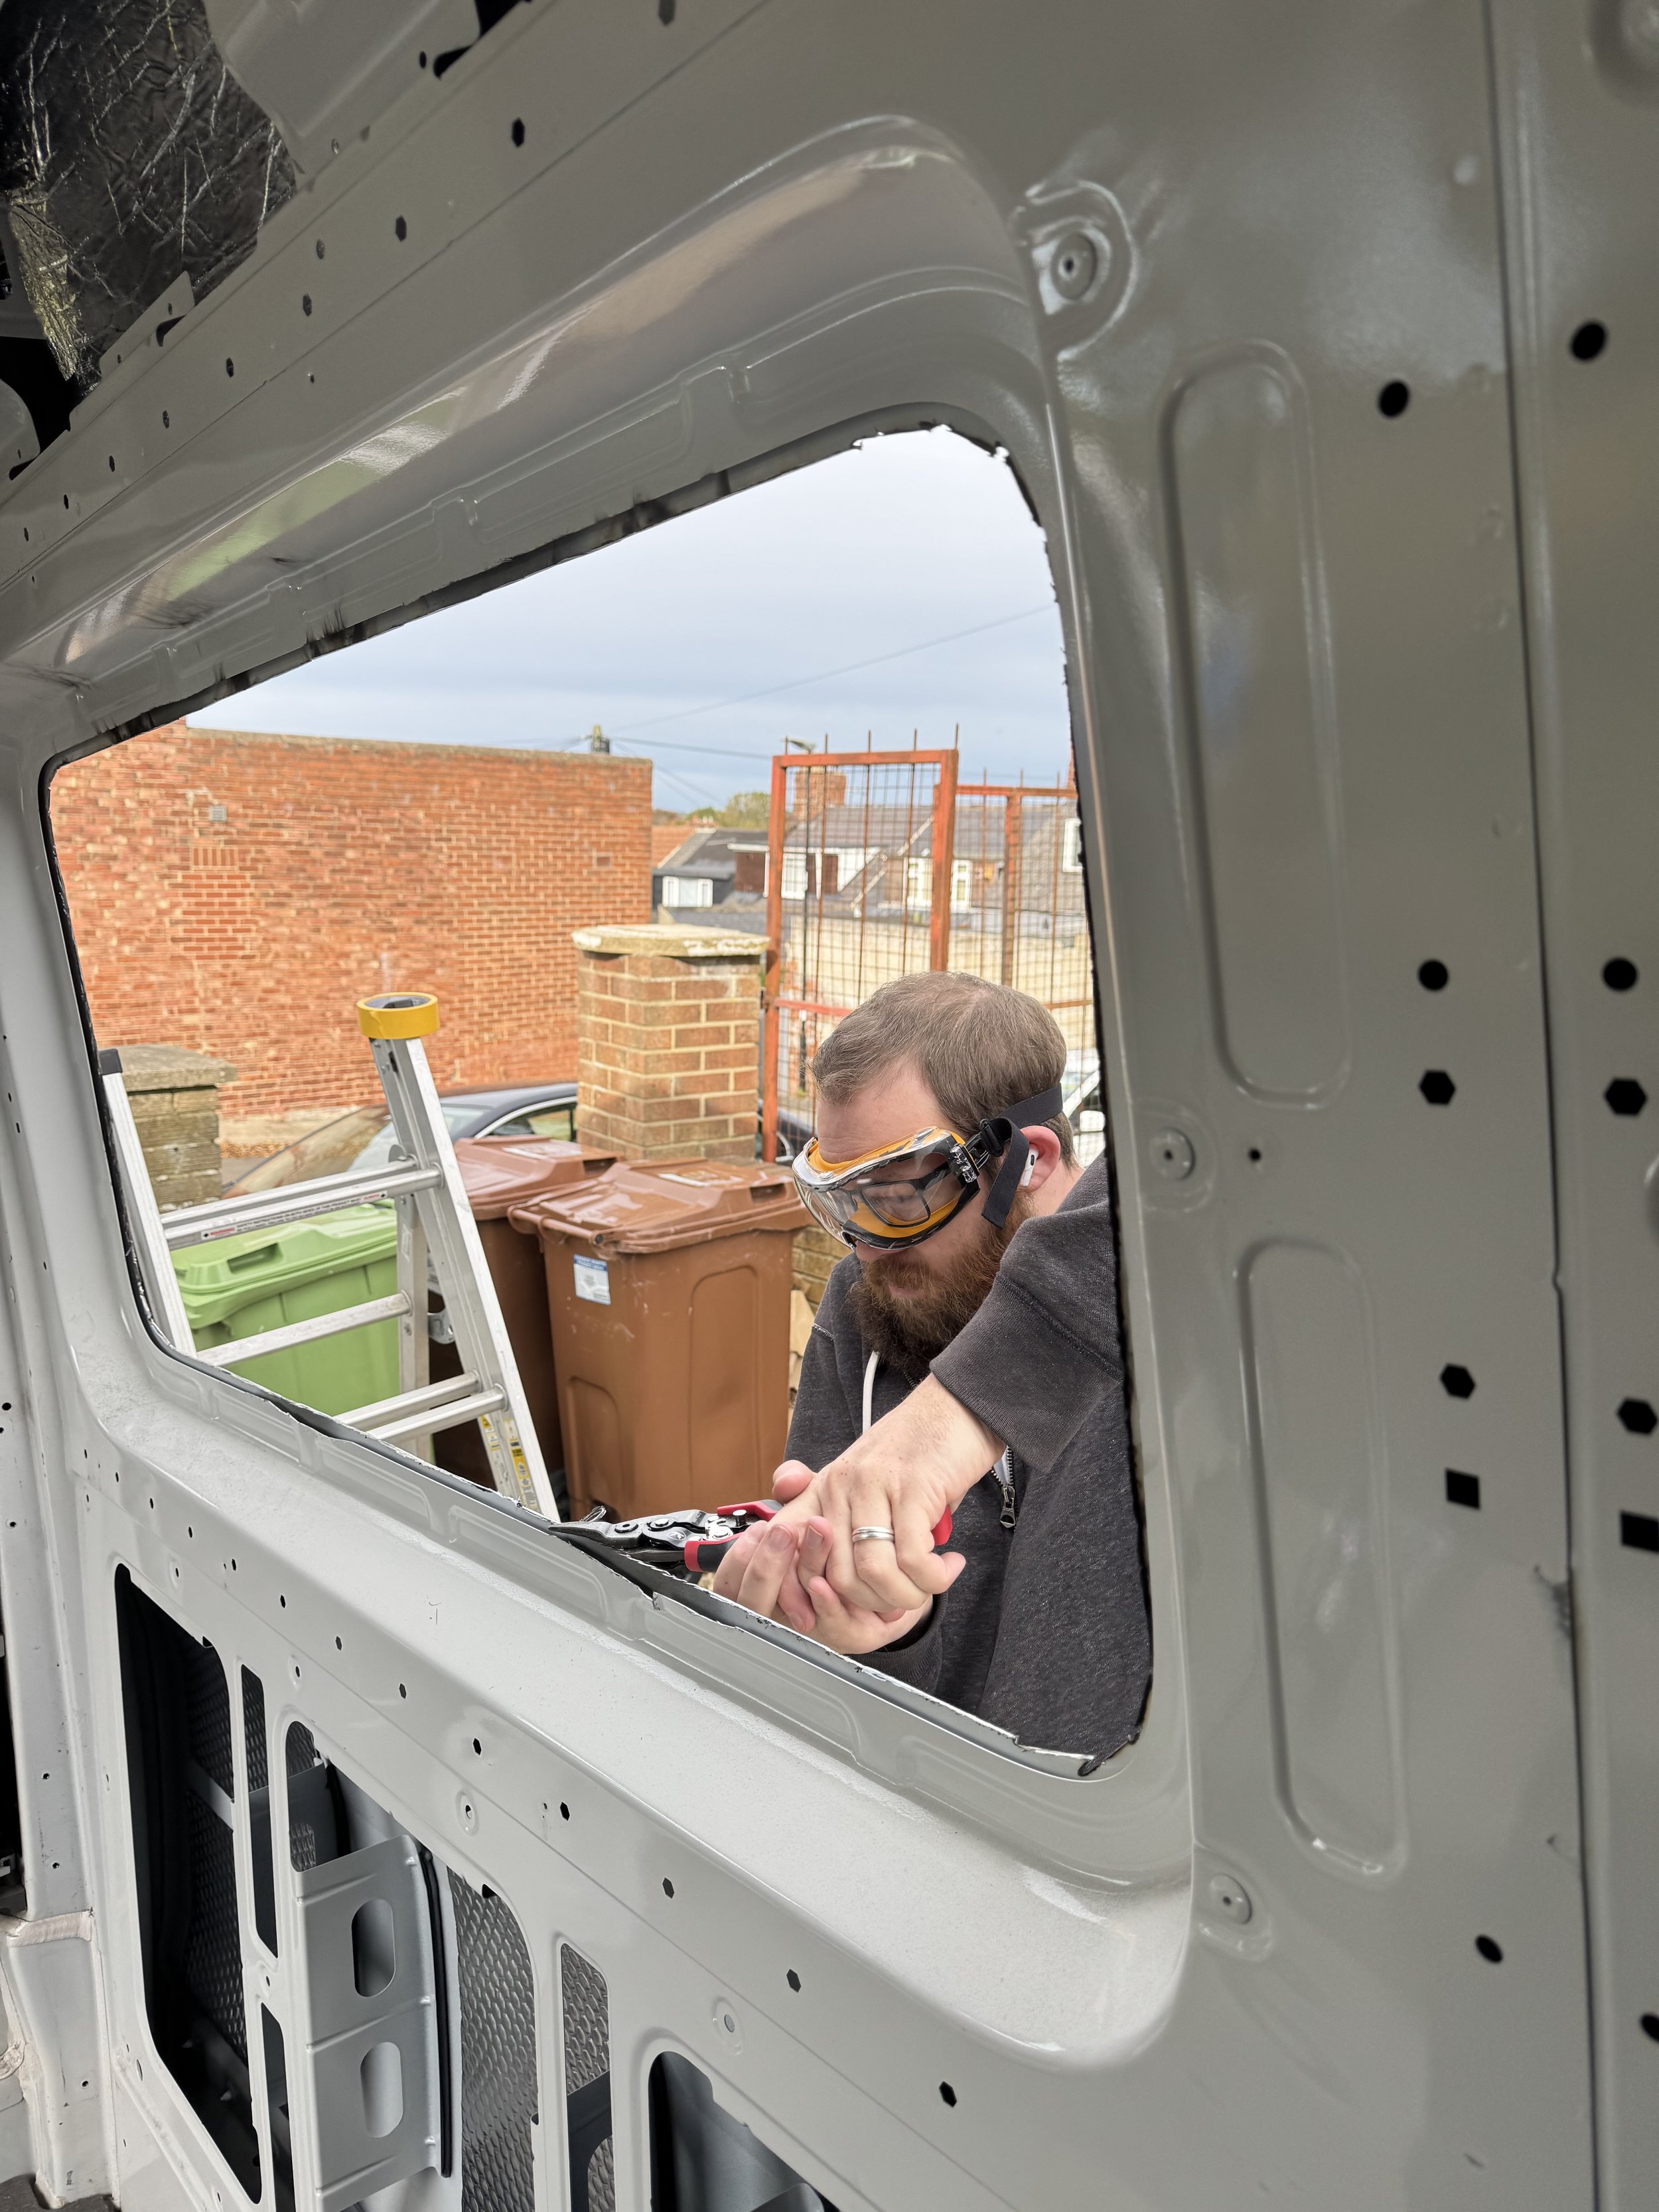
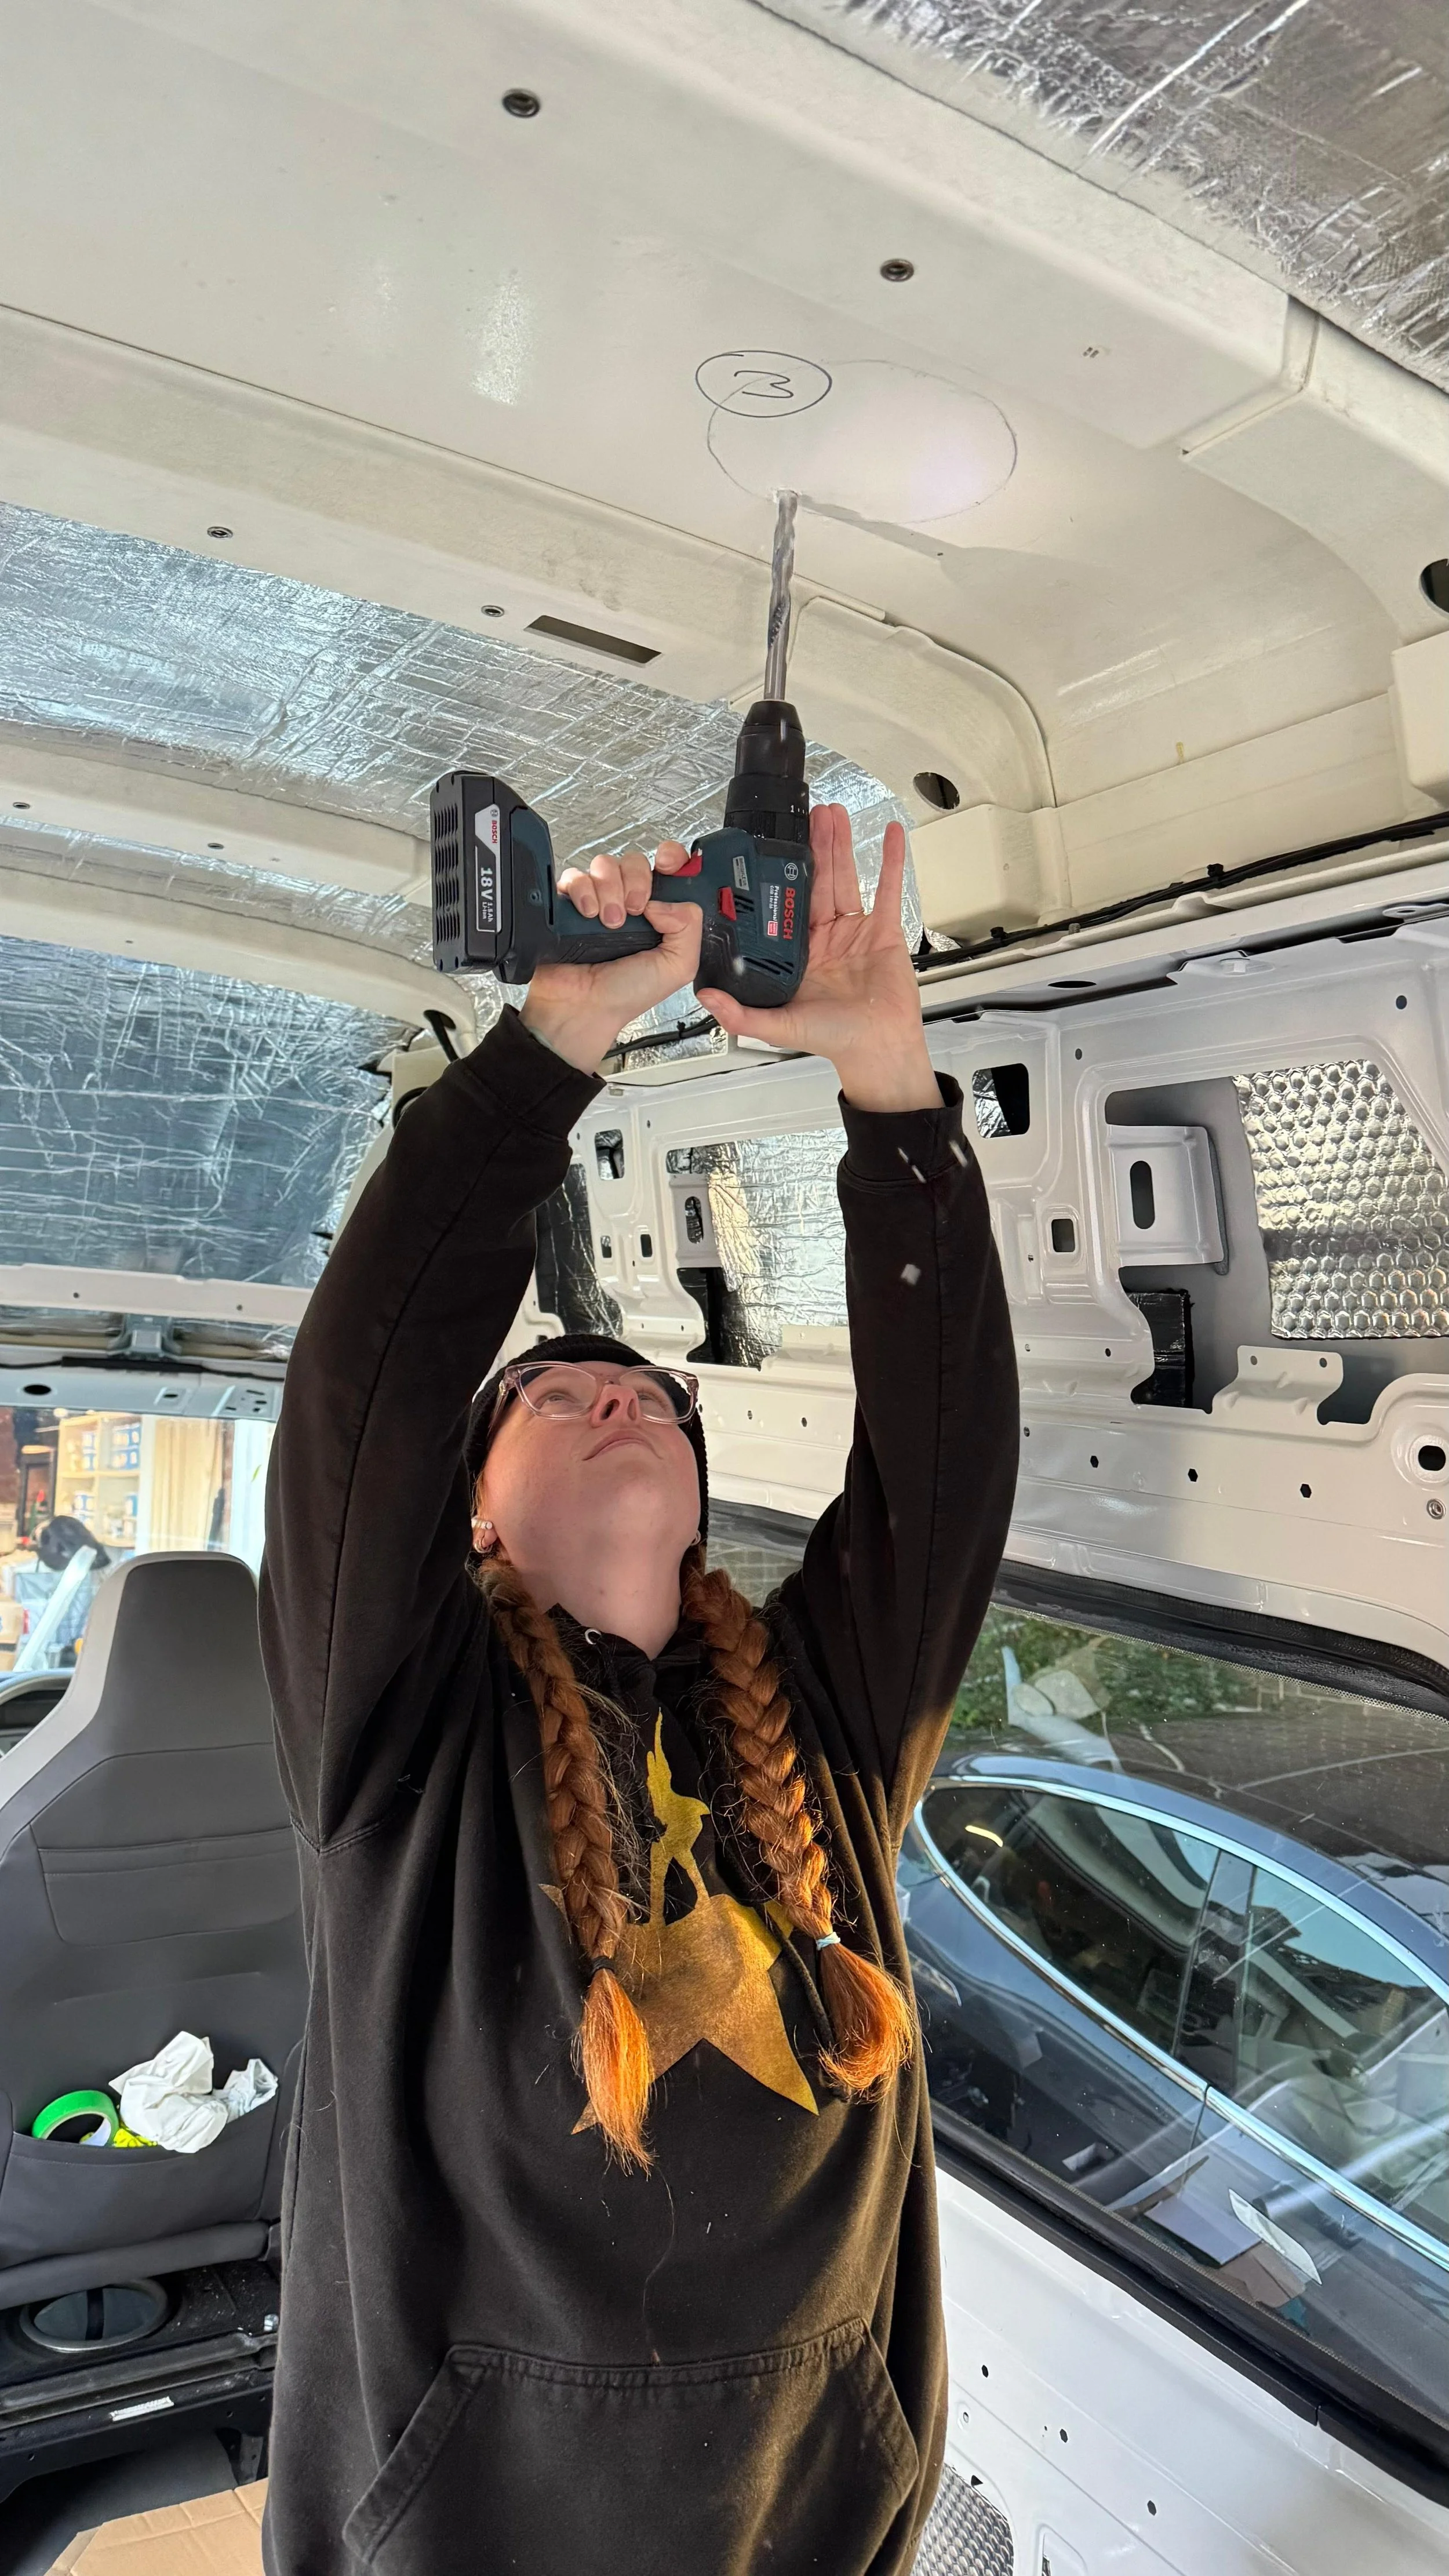
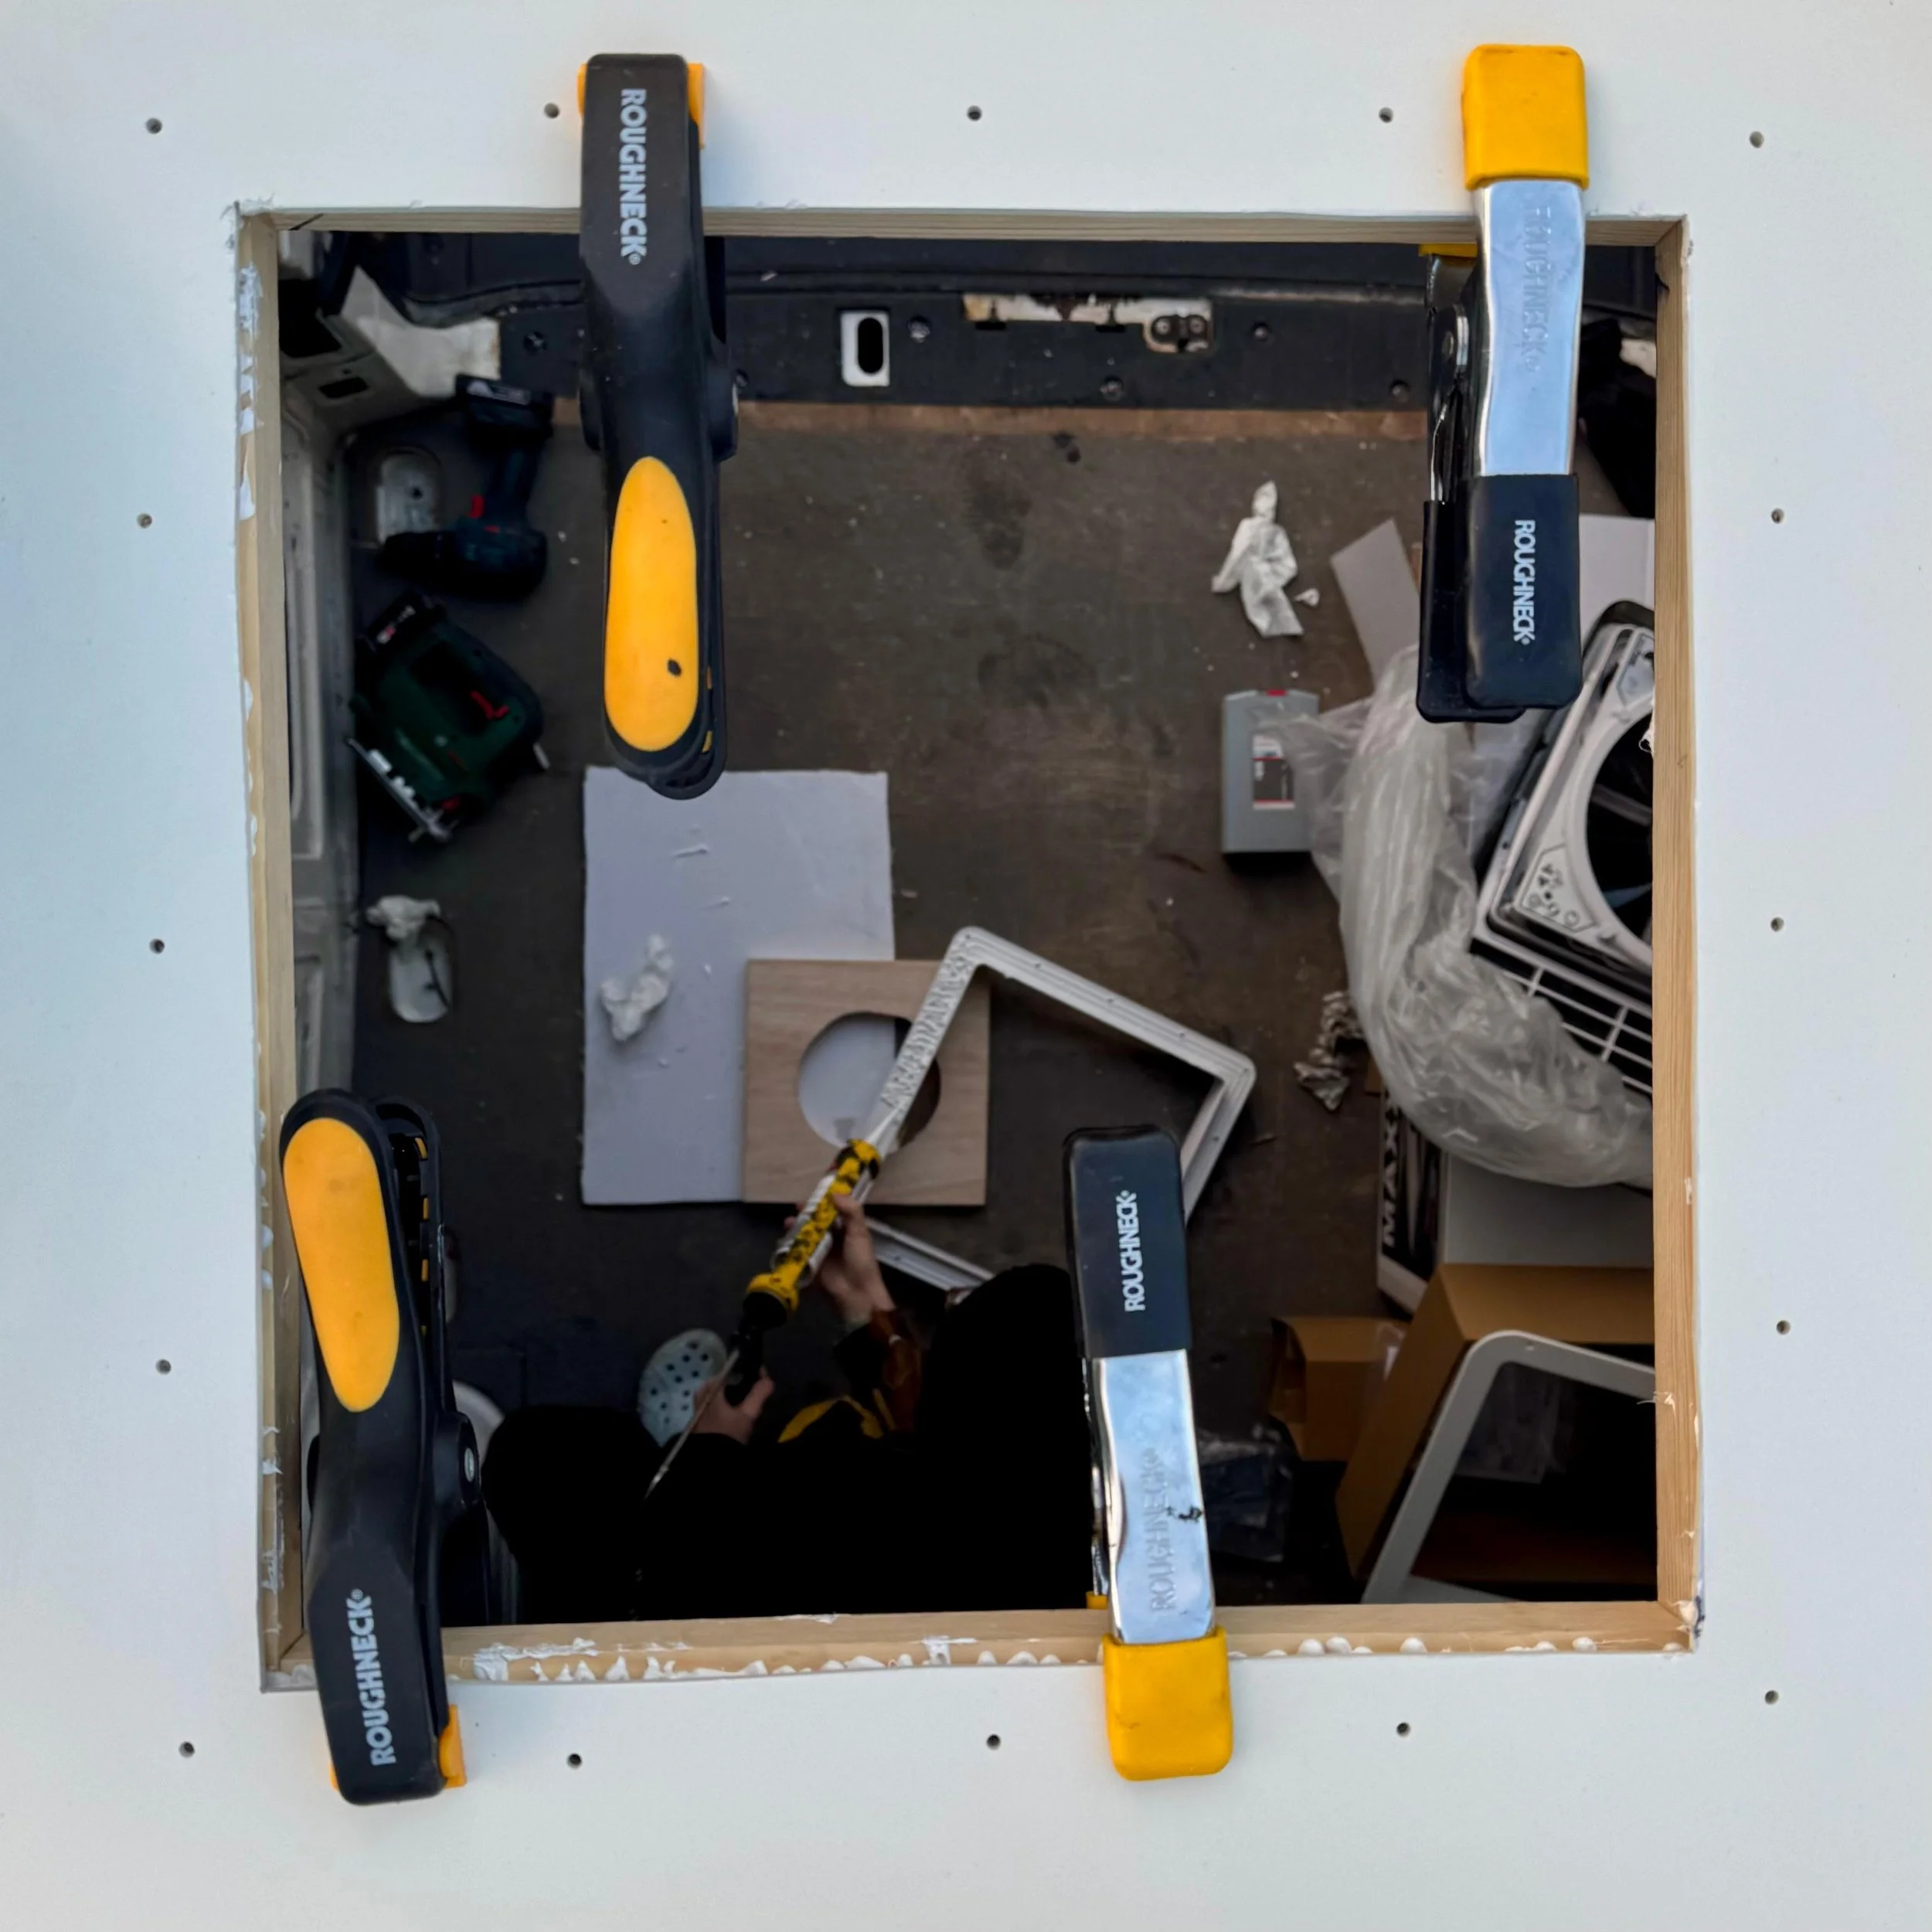
One of the biggest jobs in this whole journey has been fitting the windows. It’s been amazing watching the light flood into the space, window by window. We got the glass from Camber Glass, but fitting them has certainly been a learning curve. The windows came with no instructions so we hit the university of YouTube to work it out. The window sealant has proved tricky to work with, and we've had to get creative to fill in a few gaps around the frames. We’re still working out the neatest long term solution here, so please send us any ideas if you’ve dealt with this on a Crafter before! Our next challenge with the windows is going to be fitting our new blinds which don’t come with any instructions… AGAIN!
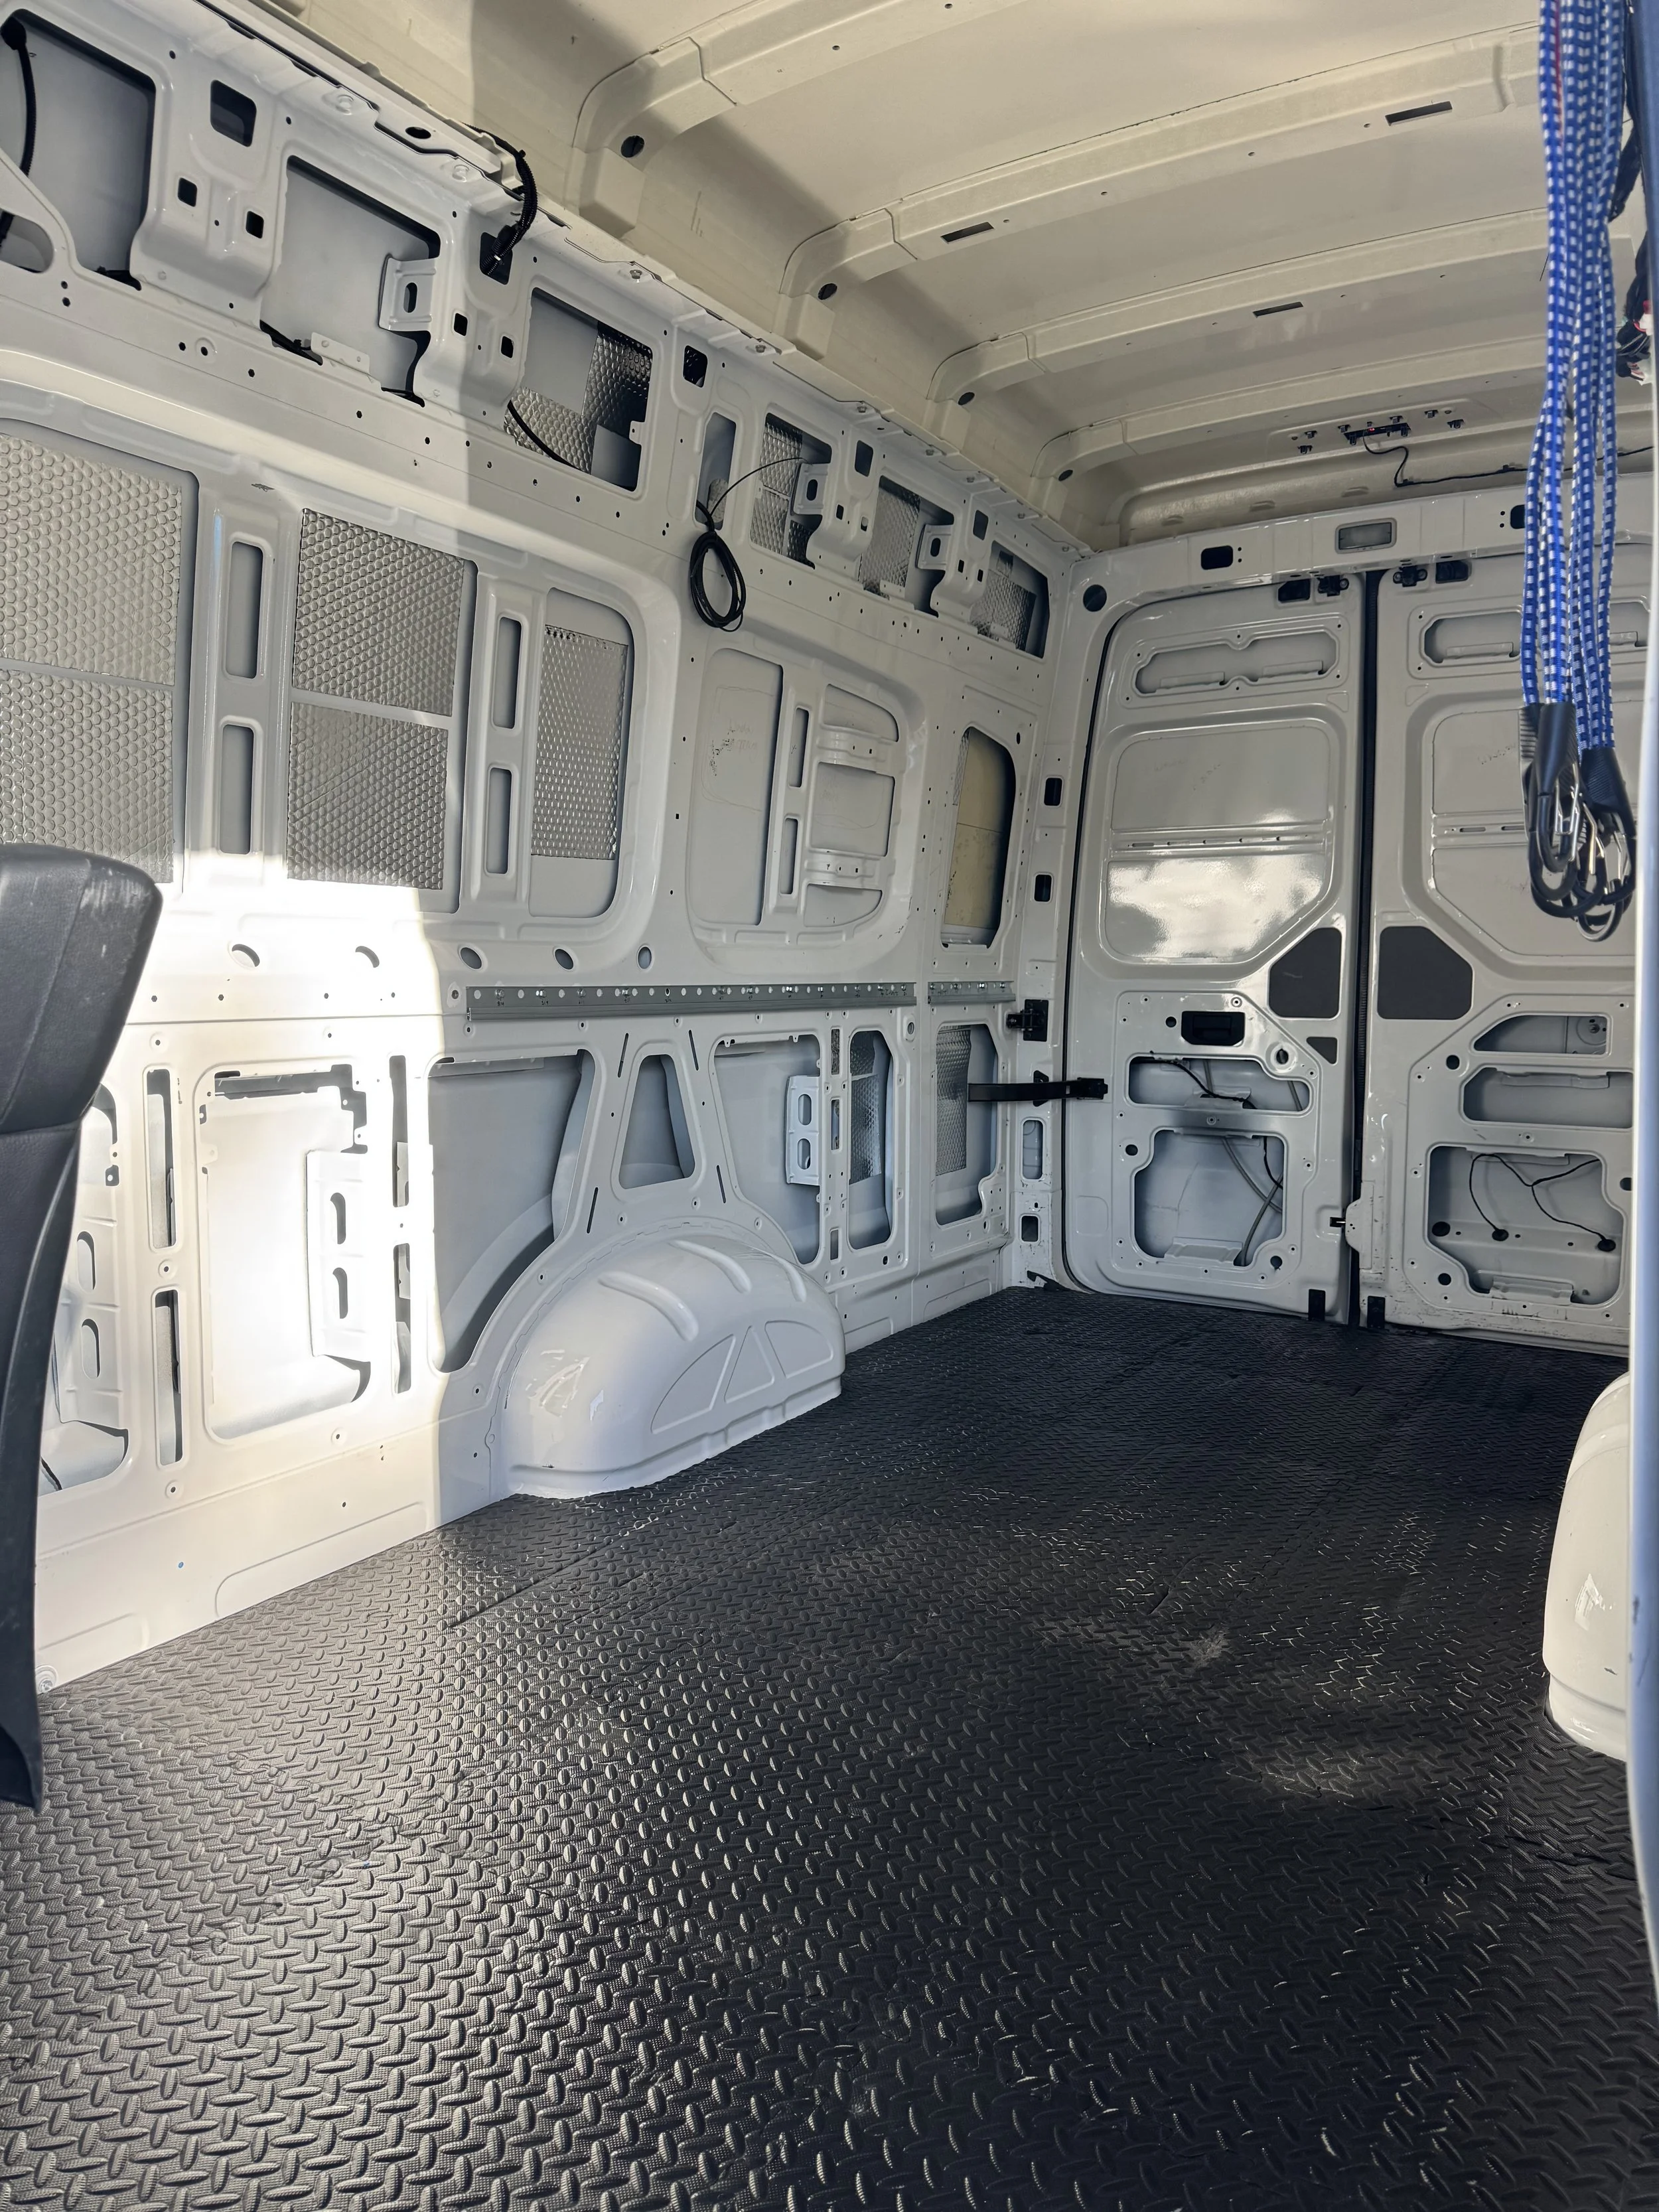
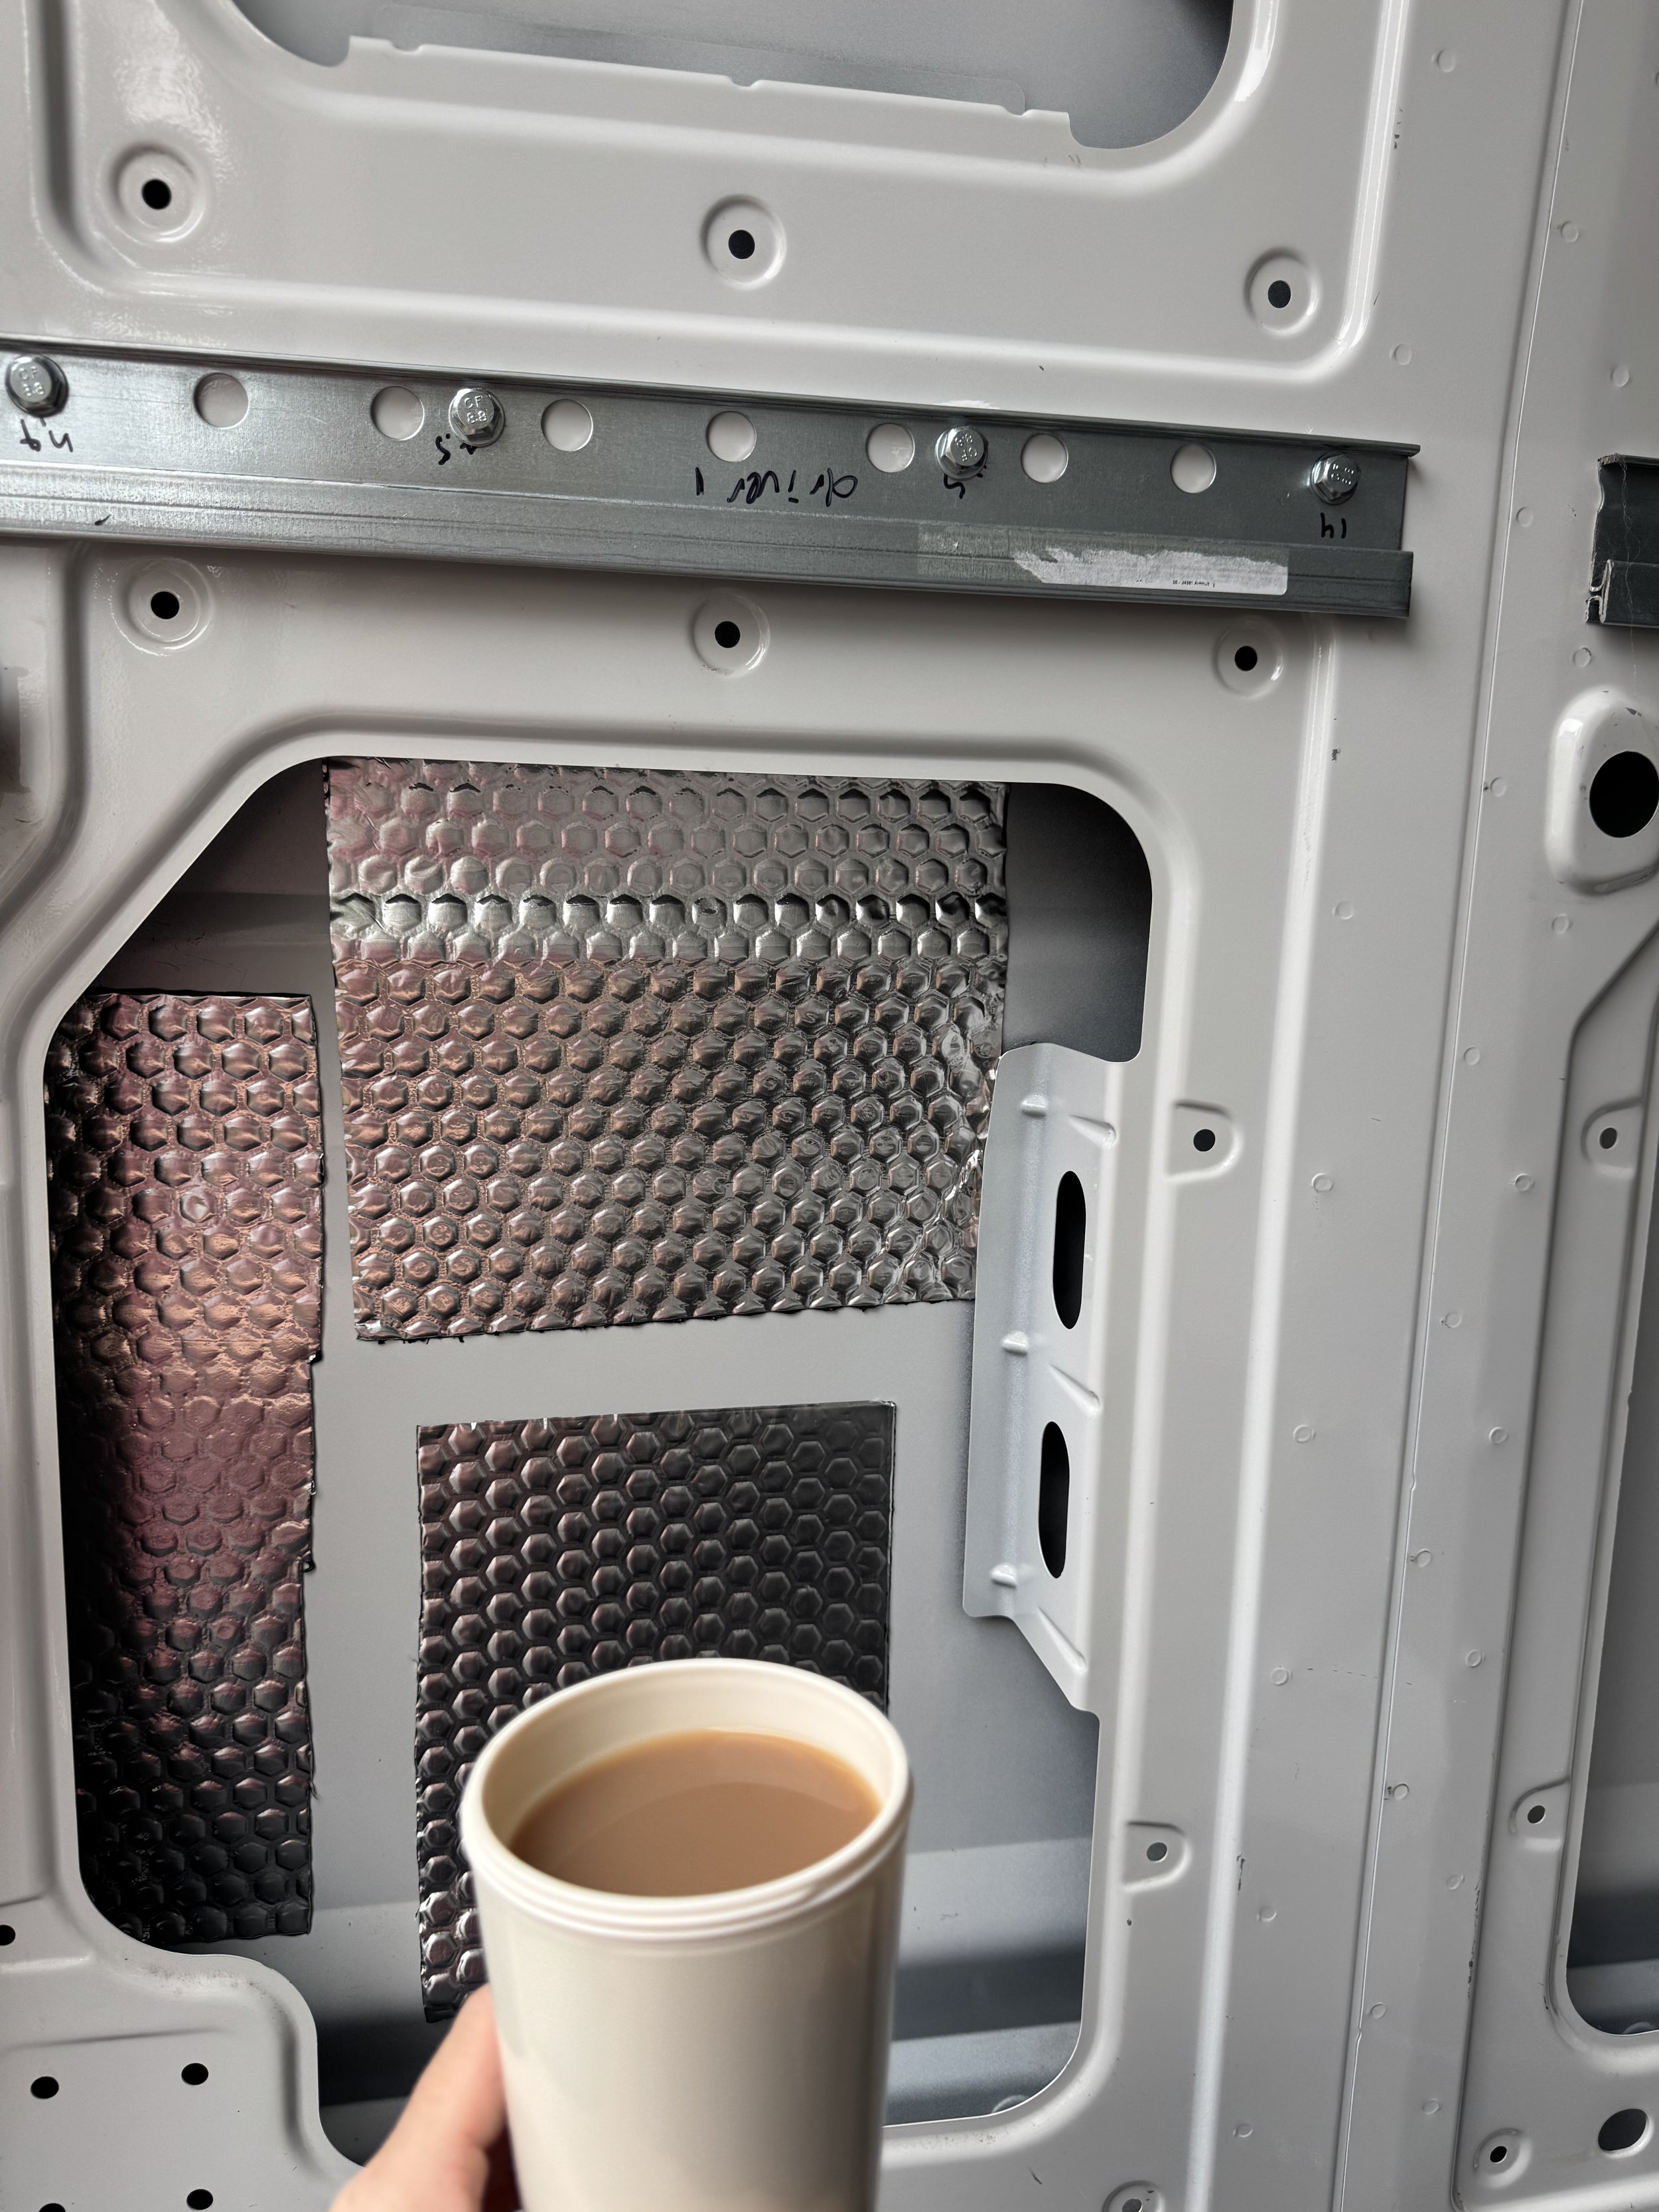
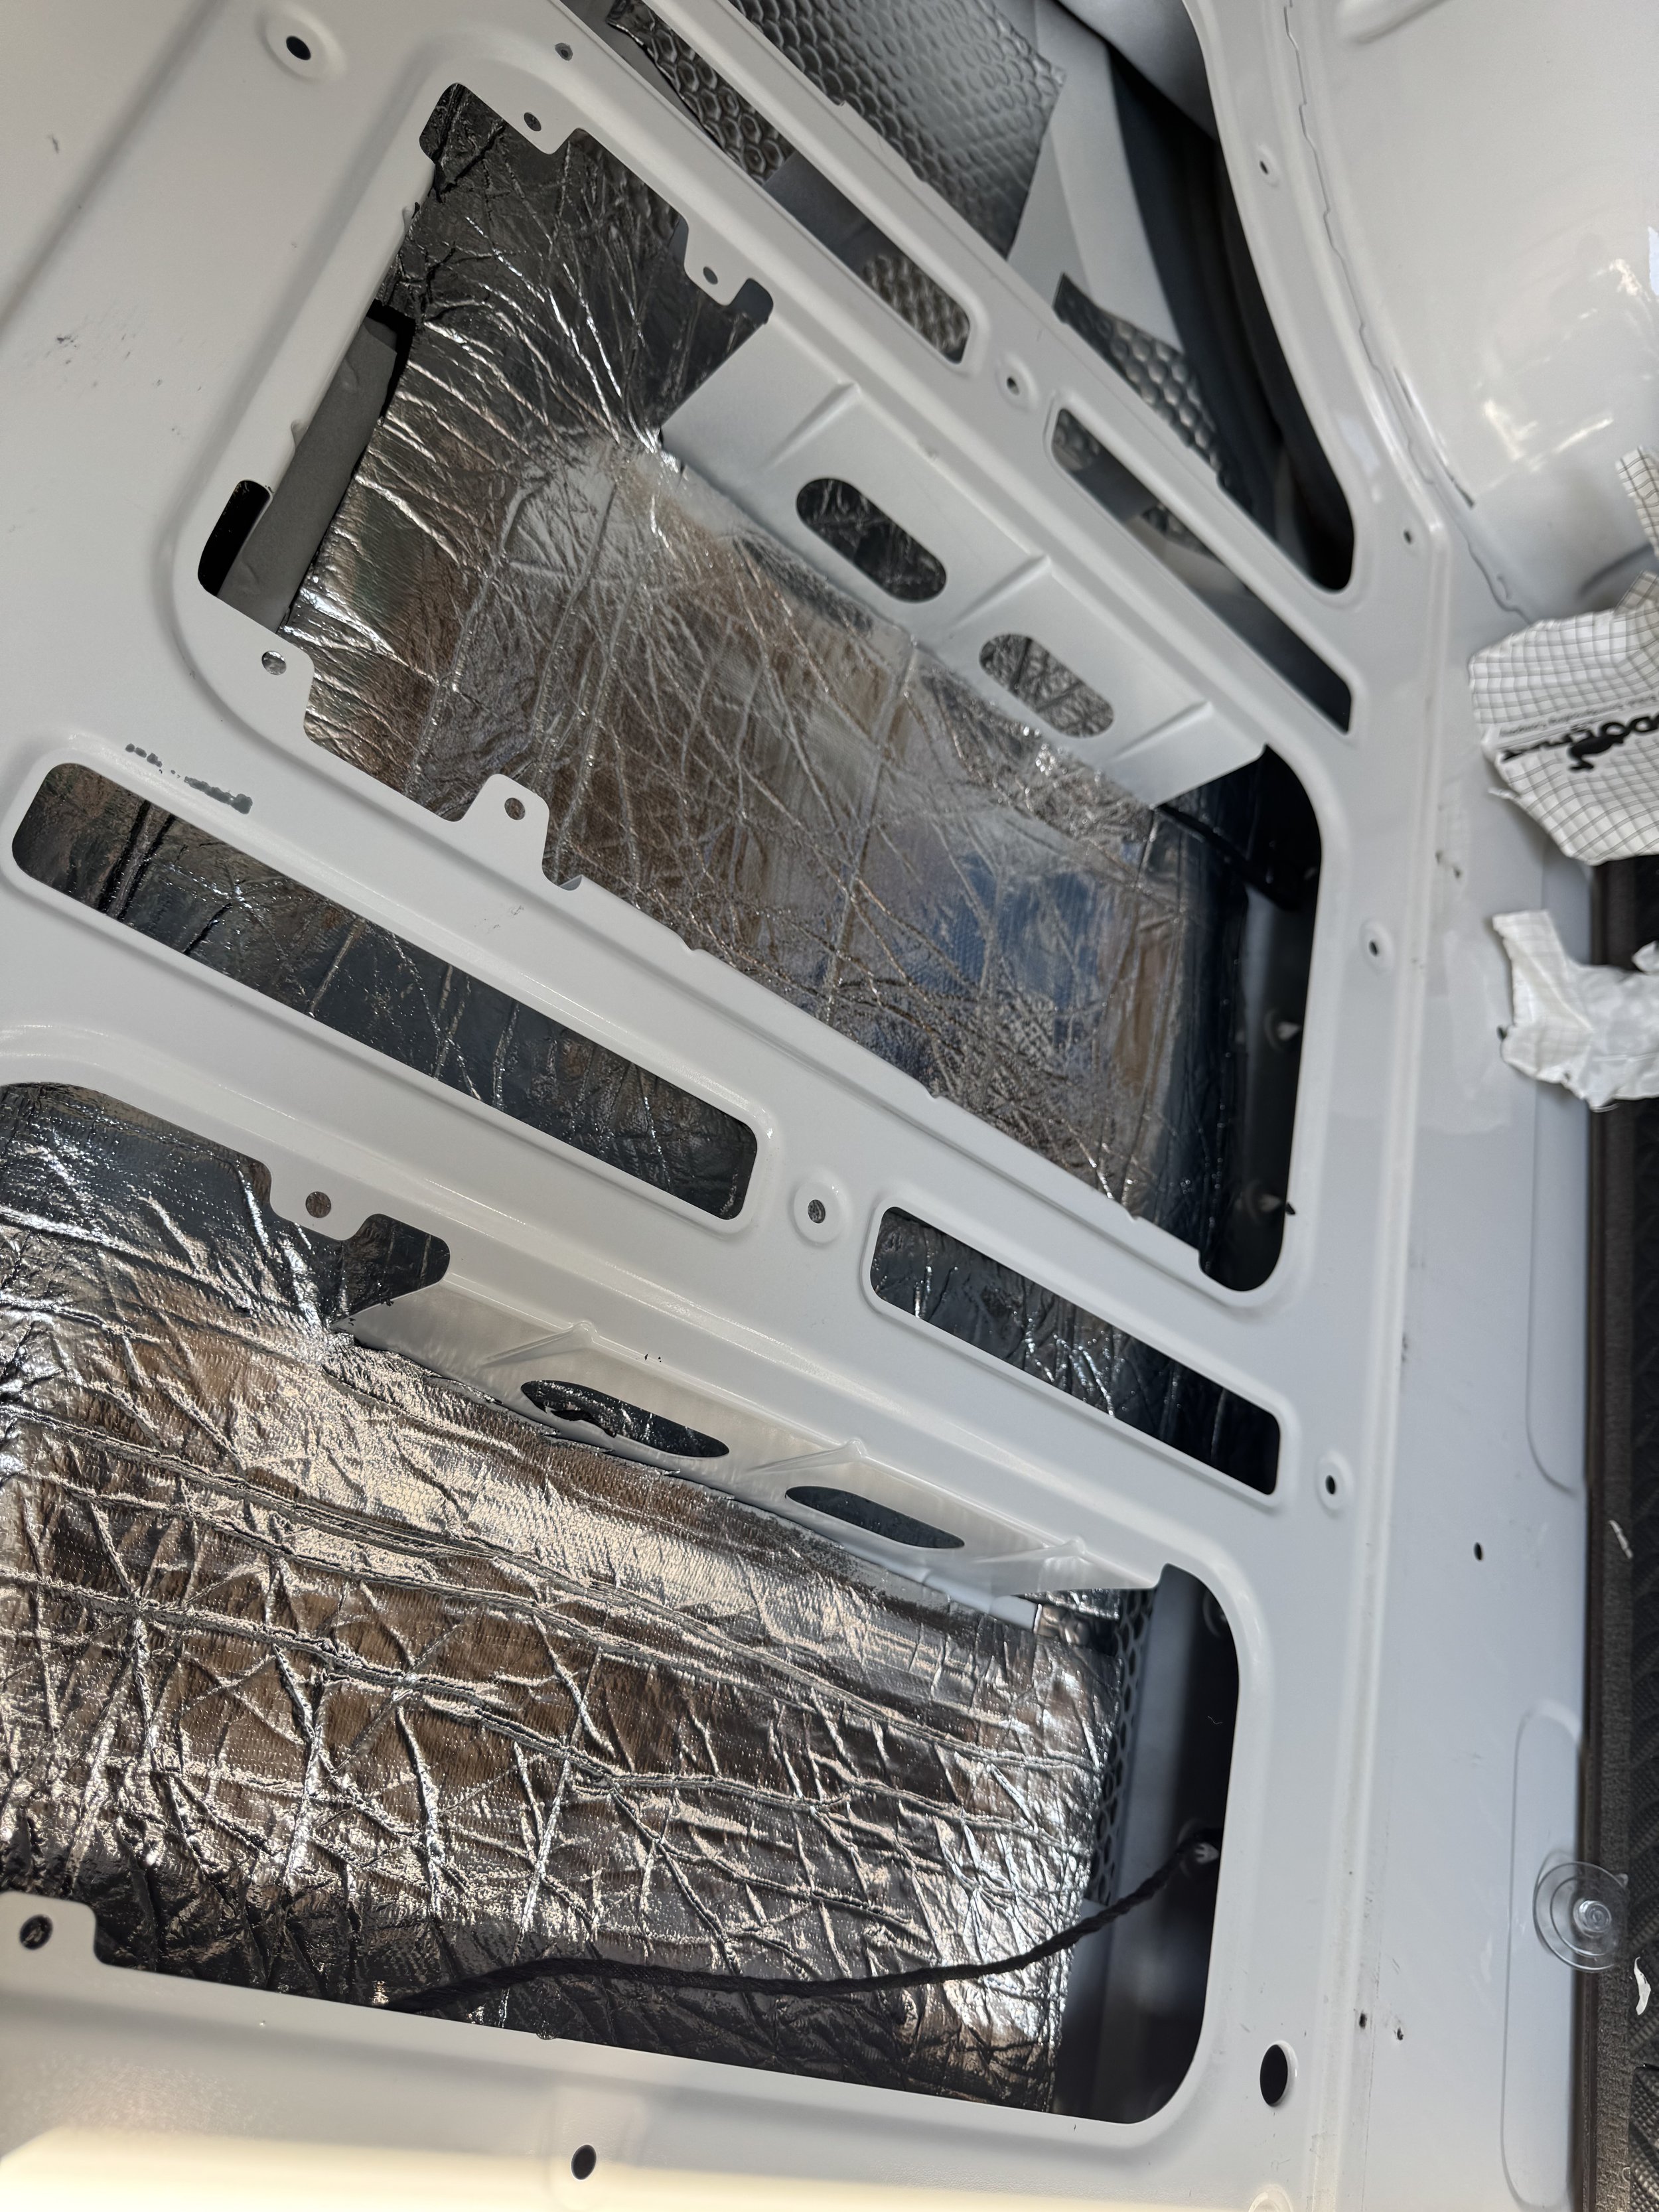
With the insides ripped out, we dove into the necessary, but tedious, tasks. We tackled the sound deadening first, using Dodo Sound Deadening sheets, which made such a noticeable difference in reducing road noise. We had to drive the van up and down the M1 a few times during the winter months, and it was such a relief not having the constant rattle of the door in our ear the whole time.
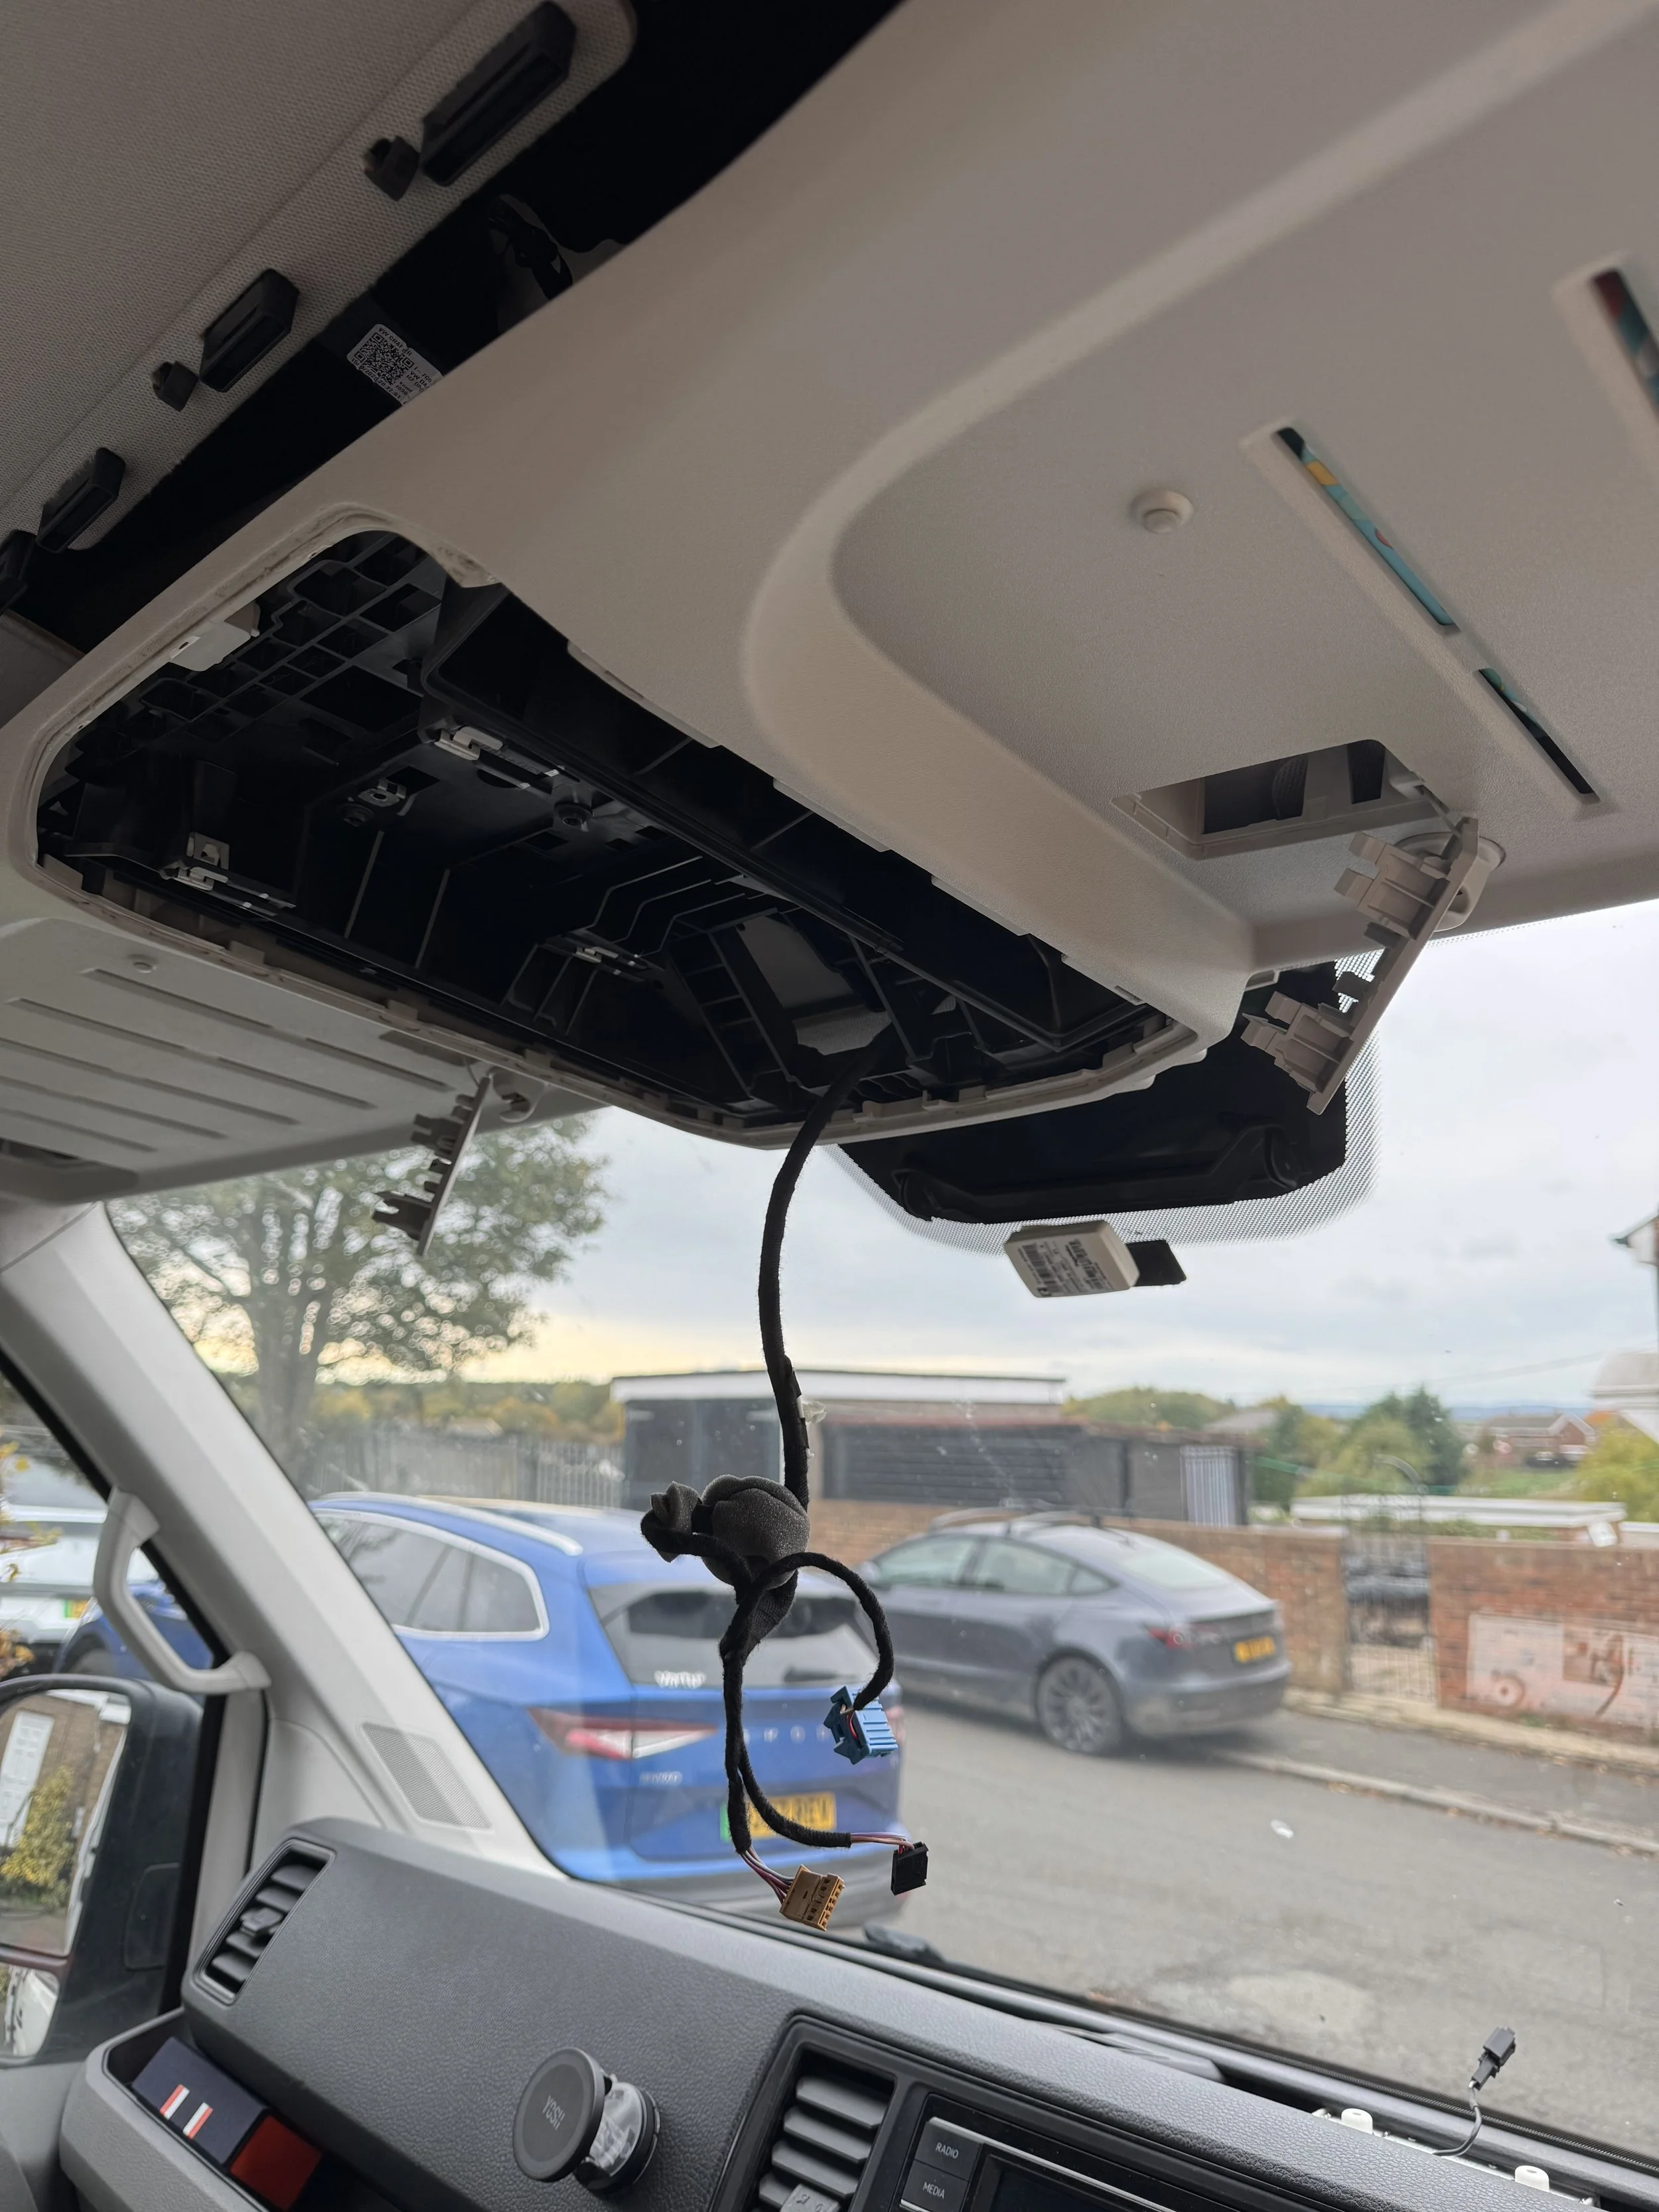
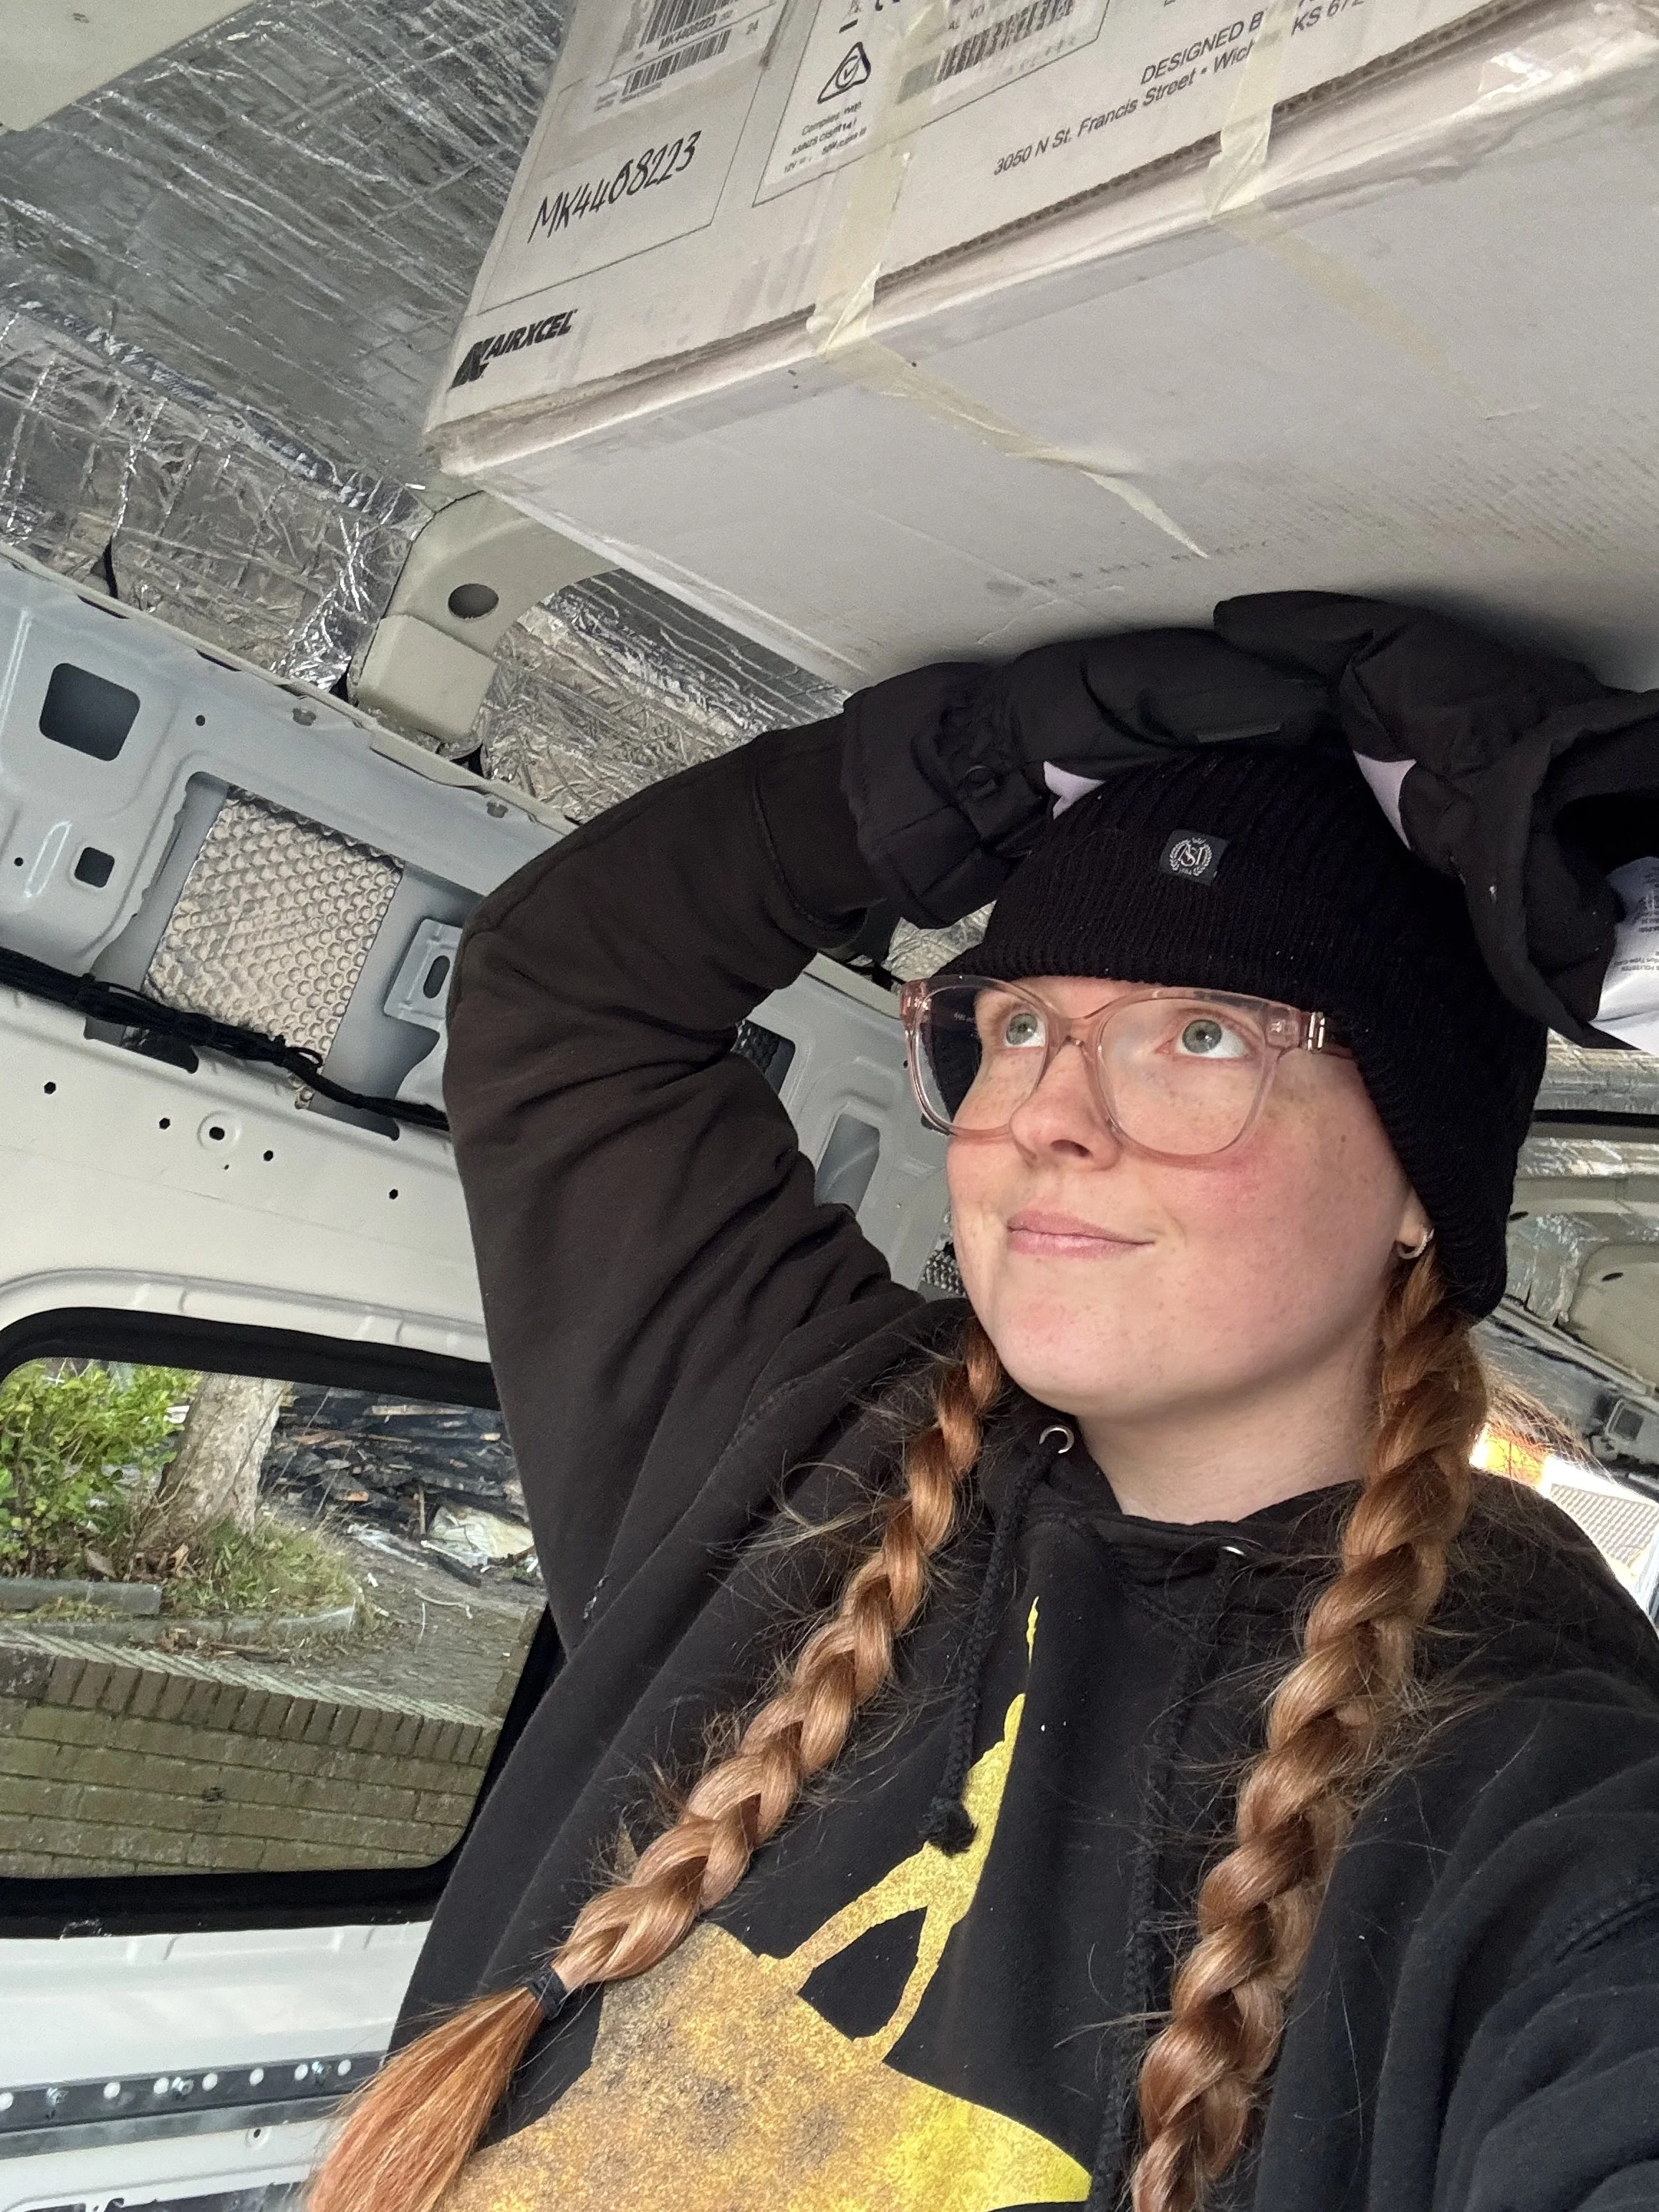
Now that most of the windows are in, we are now looking towards climate control. We know insulation is the most boring job, especially for Bev with her ADHD, but it is all part of us living comfortably. We are still getting this insulation finished, it must be done correctly to ensure we can live in the van in all weathers. We’ve been using Dodo thermal liner and also their recycled bottle fleece to meticulously stuff every cavity, keeping us warm on our trips. We even removed the headliner to ensure the cab area is properly insulated too, though that process proved tricky with one sun visor snapping off!
Two Steps Forward, One Step Back!
We have had a few moments of us questioning if our van is even going to survive. We have had a handful of mechanical problems, meaning the last few weeks of the year our van hung out with the mechanics in the garage. This unfortunately put our plans for spending New Year in Ireland on hold…for a second year!
As anyone who has done an any type of renovation or conversion knows, sometimes you have to undo things! The children's seats are a prime example. We have had to remove their chairs and can reinstall them when we finalise our layout, shifting them forward a bit and raising them to be the same height as us. Our front chairs will swivel round, and we have decided this is the best place for Ewan to have his ‘office’ in the van. So we have had to fit in a removable table in the gap between their chairs and ours. The silver lining on removing the children’s chairs however, is that we are back to an empty van and have been able to help our friends move house before it is all fitted back in again.
The floor has been another saga. We initially removed the floor but had to put it back in to protect the flooring during the move and to make a few important trips to the tip. The floor has finally been fully removed and taken to the tip! Ewan spent a long time on his hands and knees scrubbing the metal flooring and is not letting anyone inside with their dirty shoes!
We also had one scary moment with the windows: during the sealant's drying period, the seal on one window came away, resulting in a small puddle inside the van one morning. It was a disheartening setback that forced us to redo that installation, but we're hopeful we've got it fixed properly this time. Now that we’ve sorted out most of the exterior and foundation work, our next step is to start installing the furring strips to prepare for the interior walls.
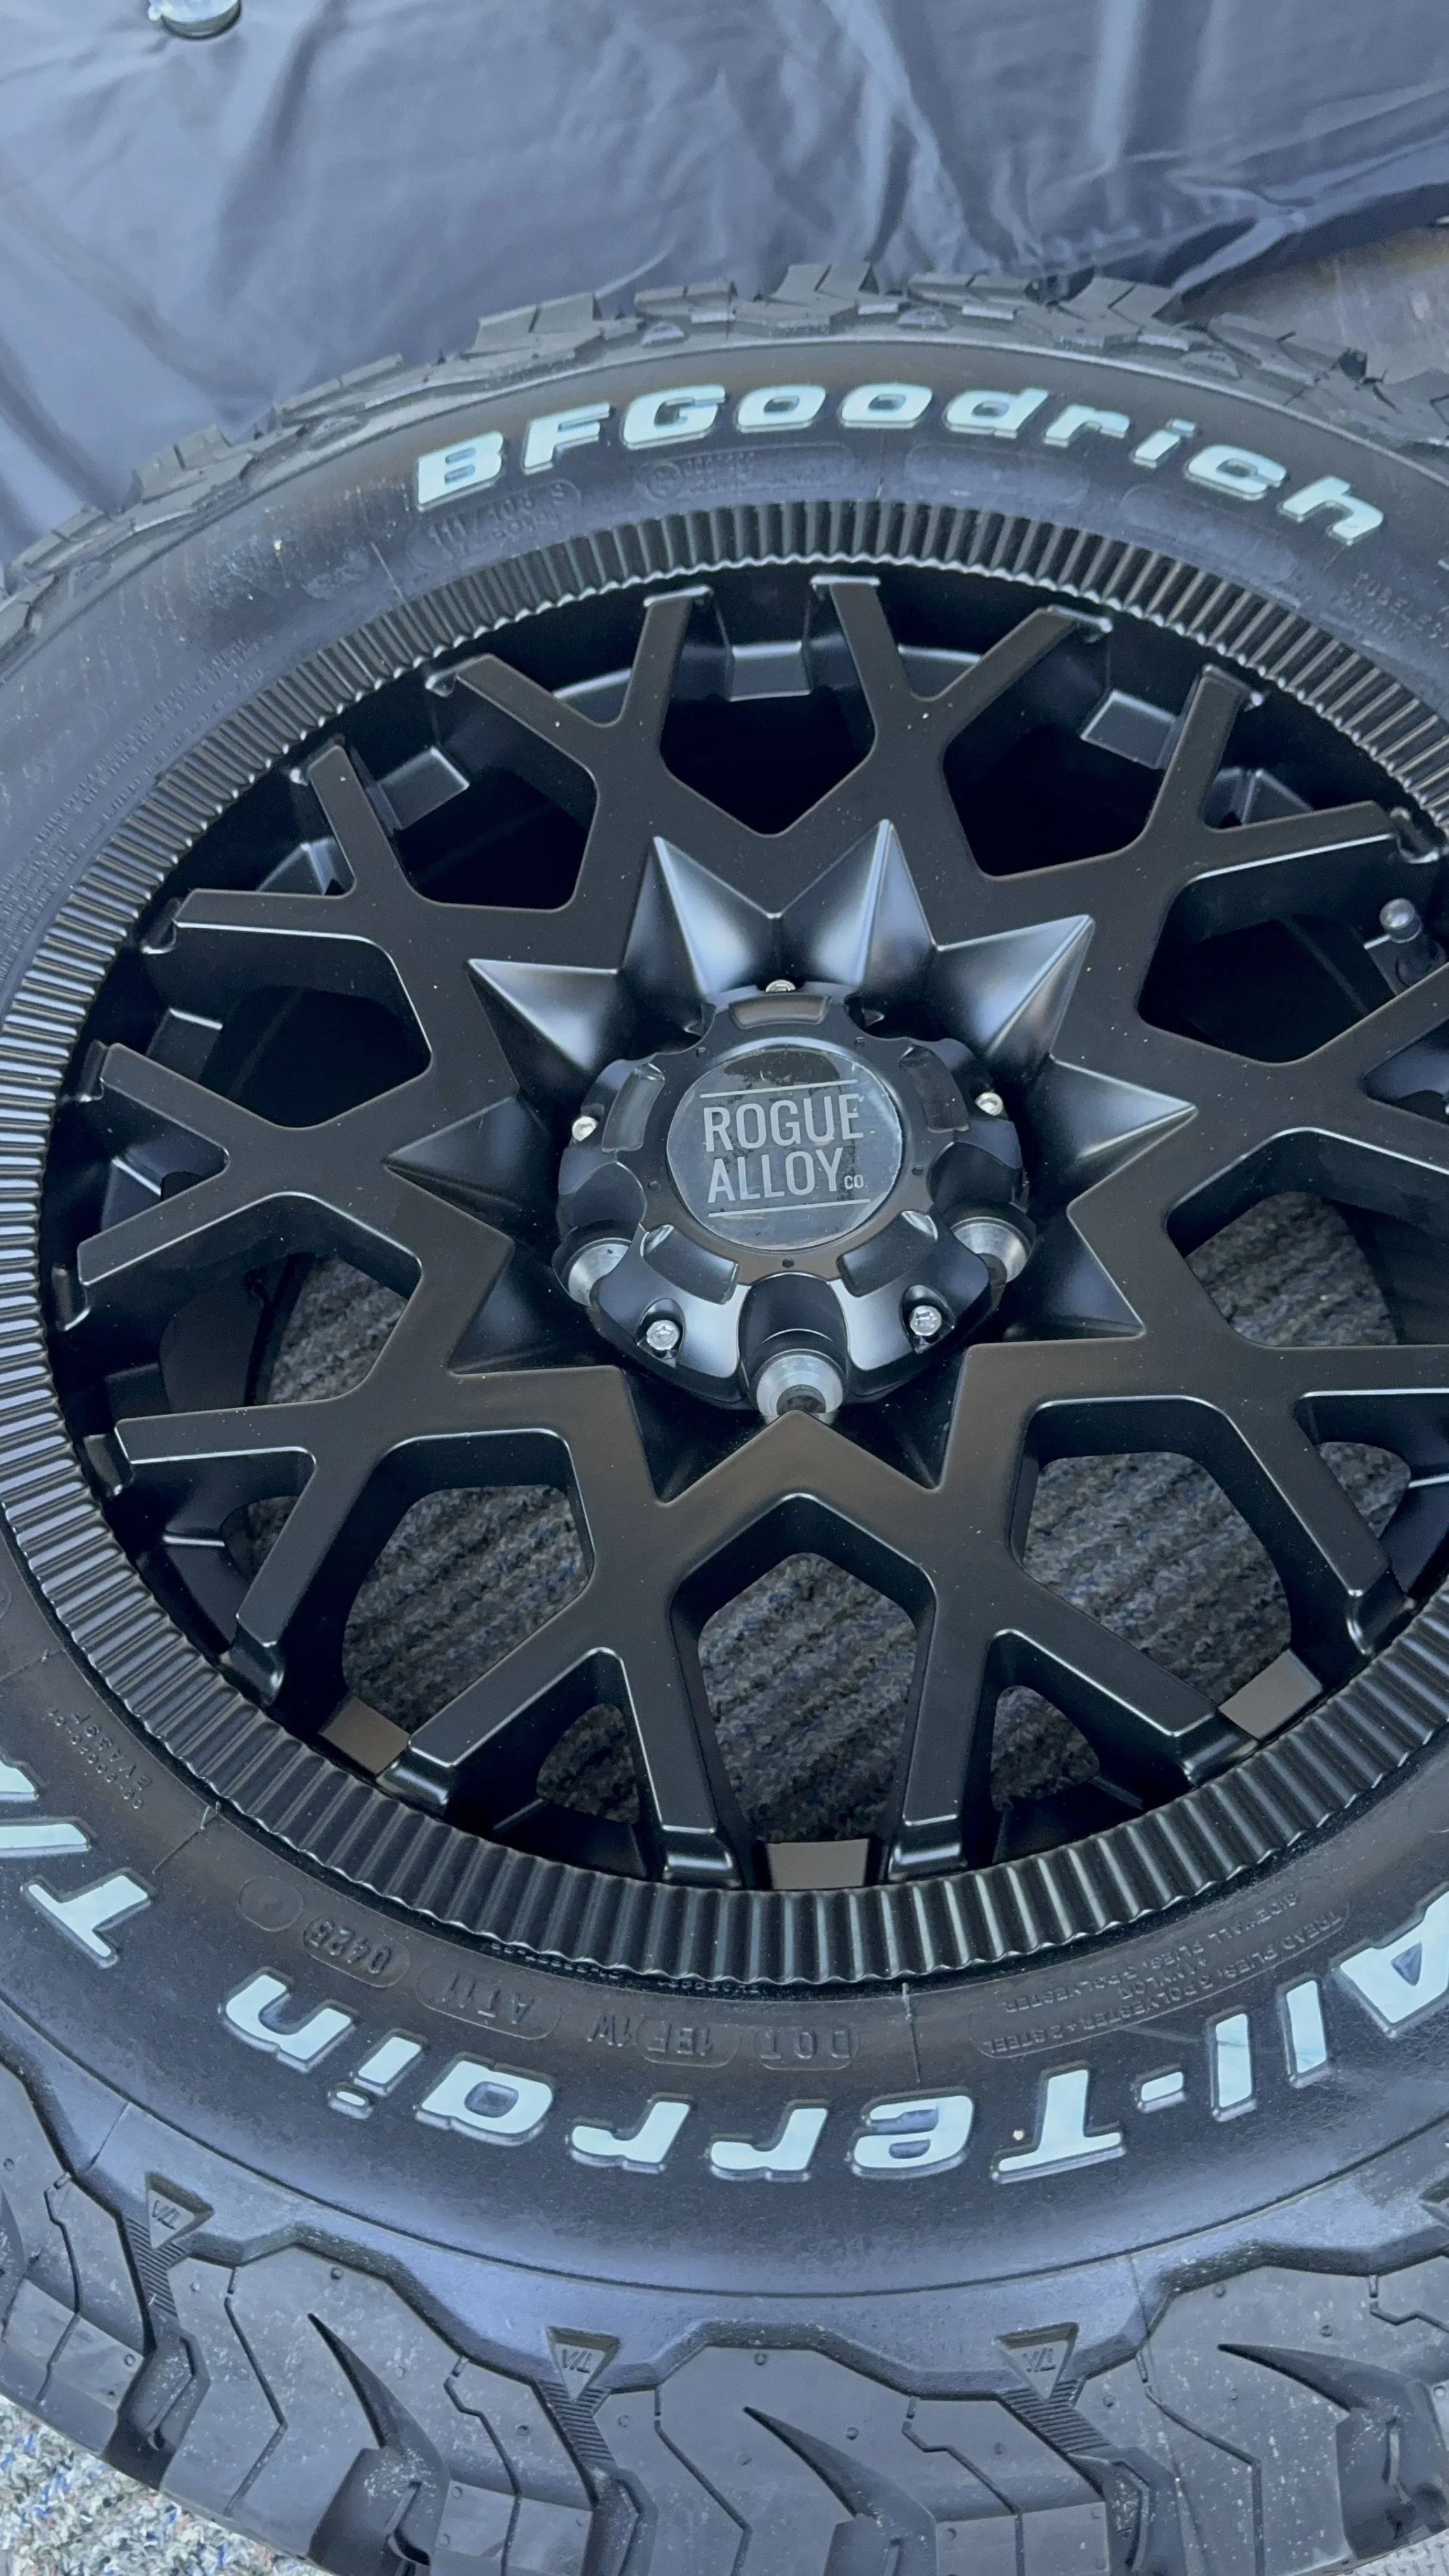
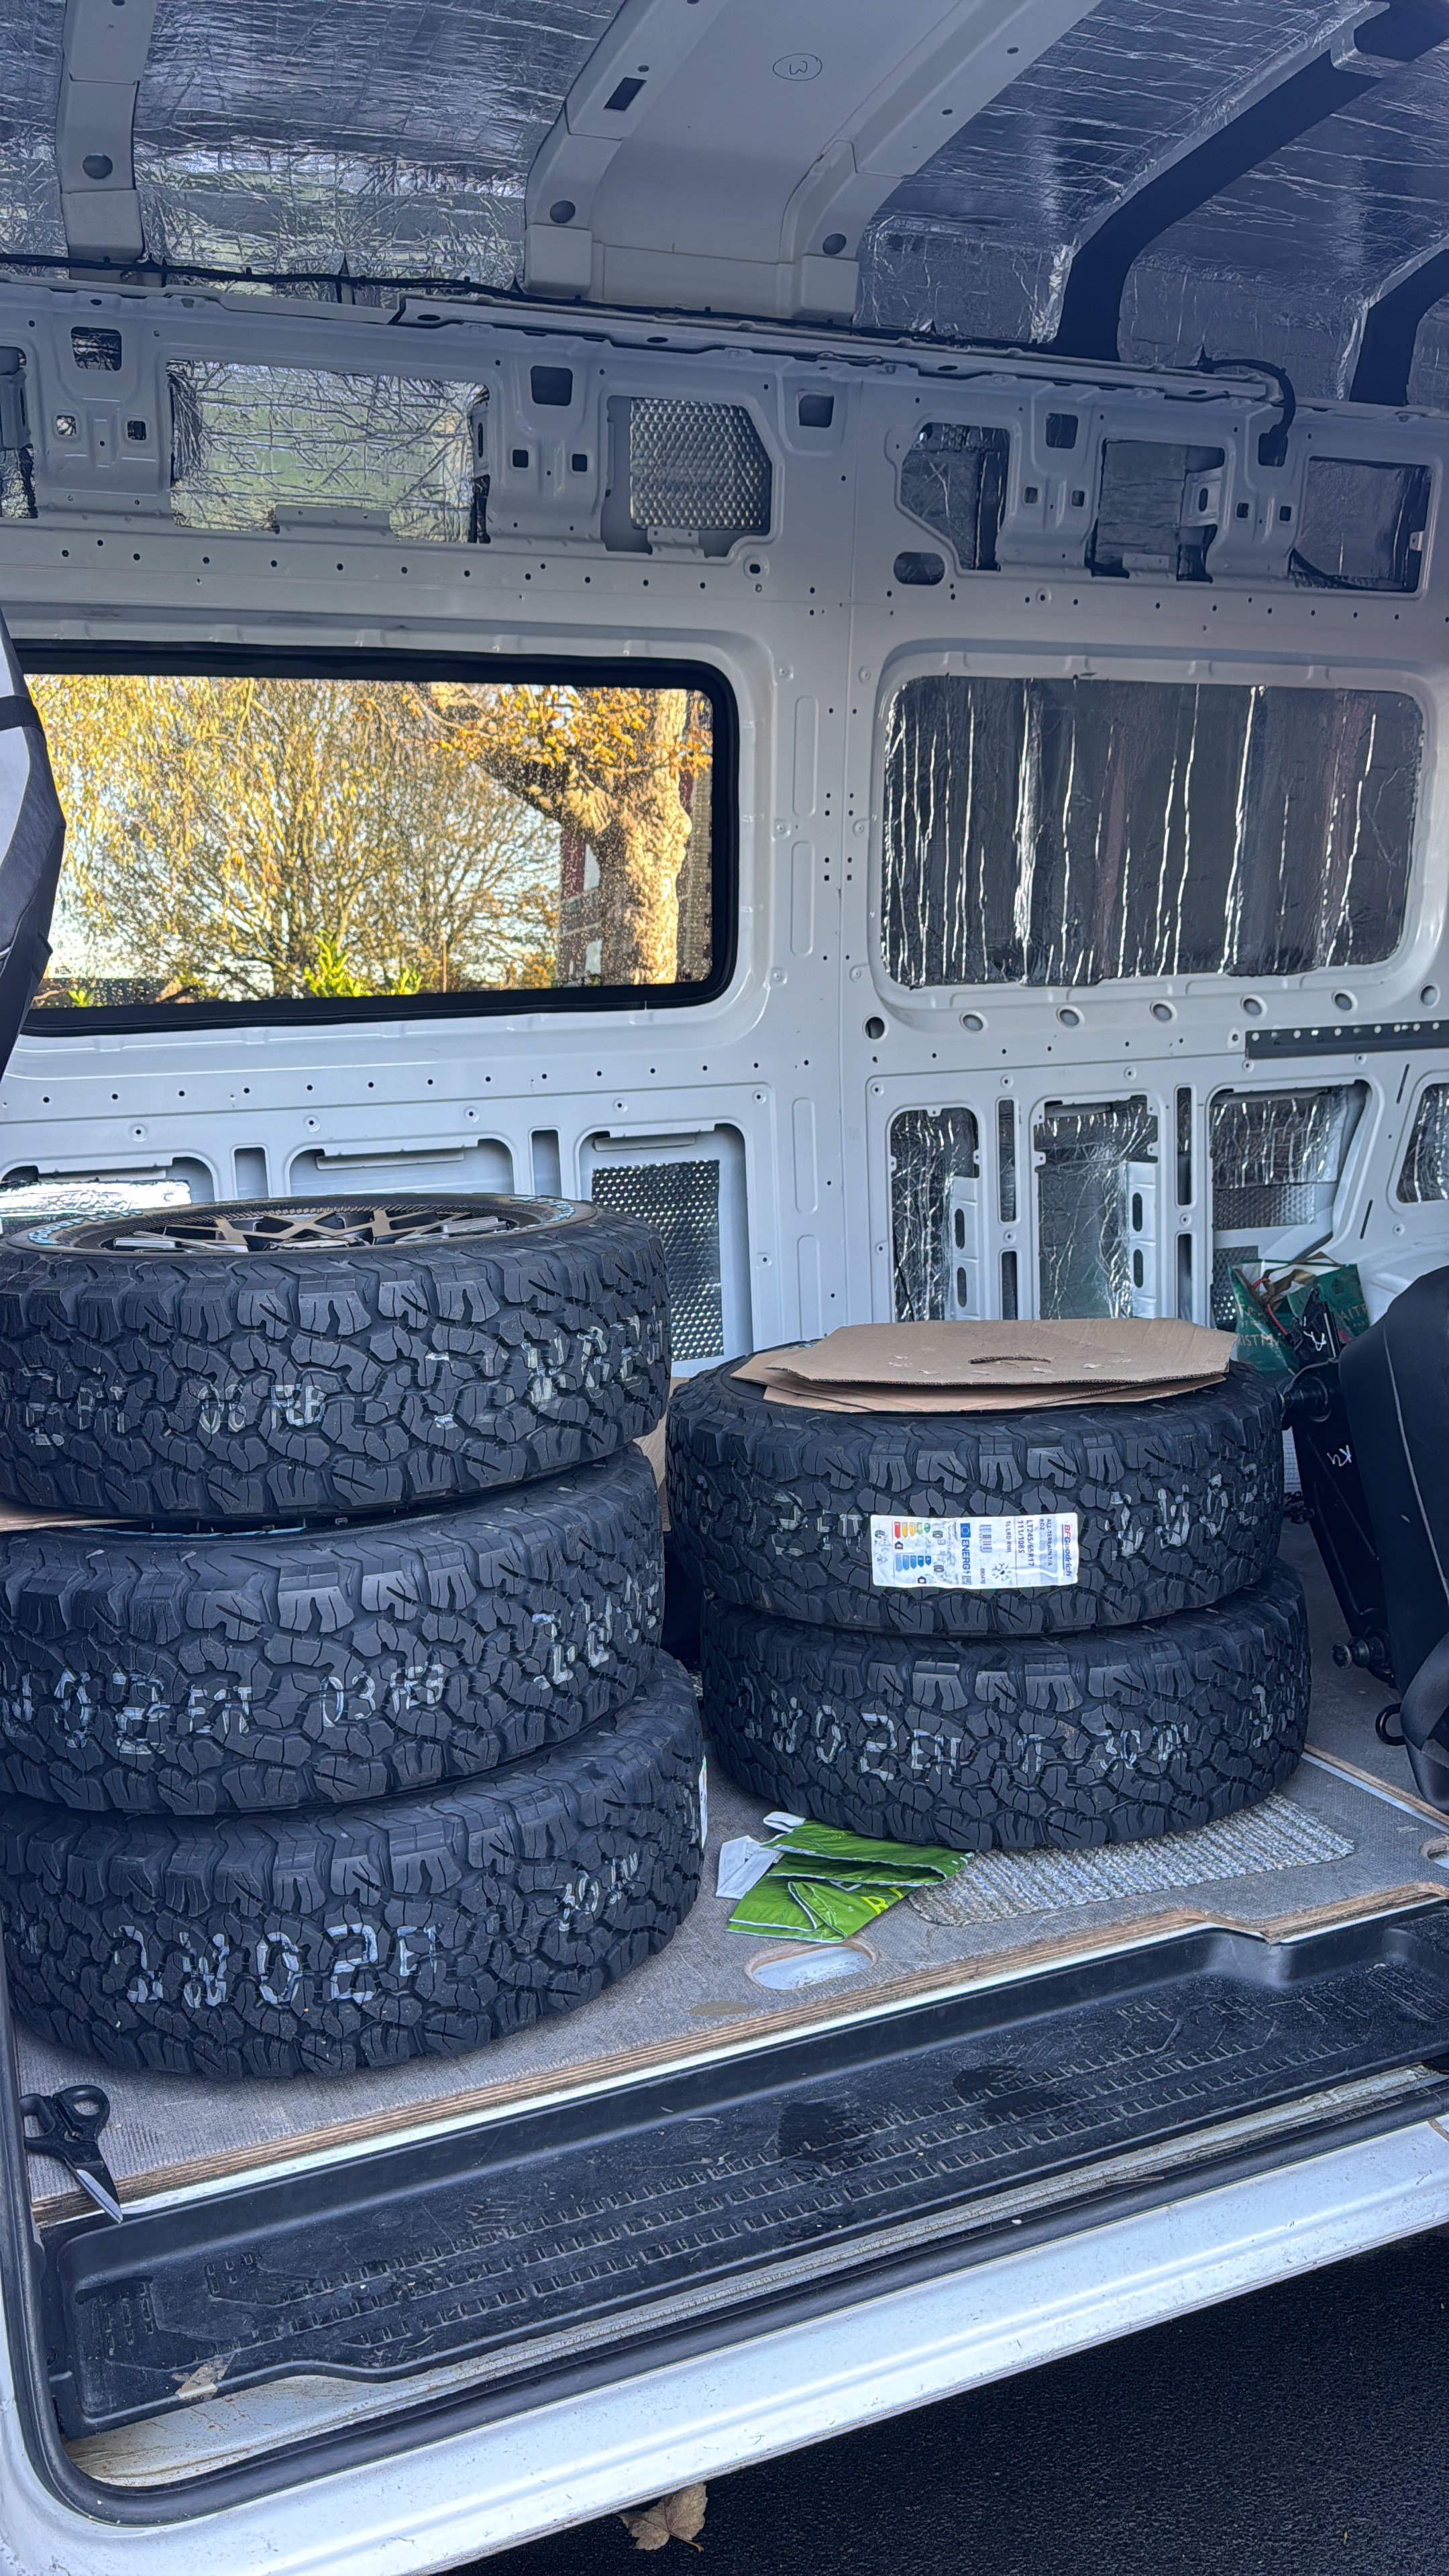
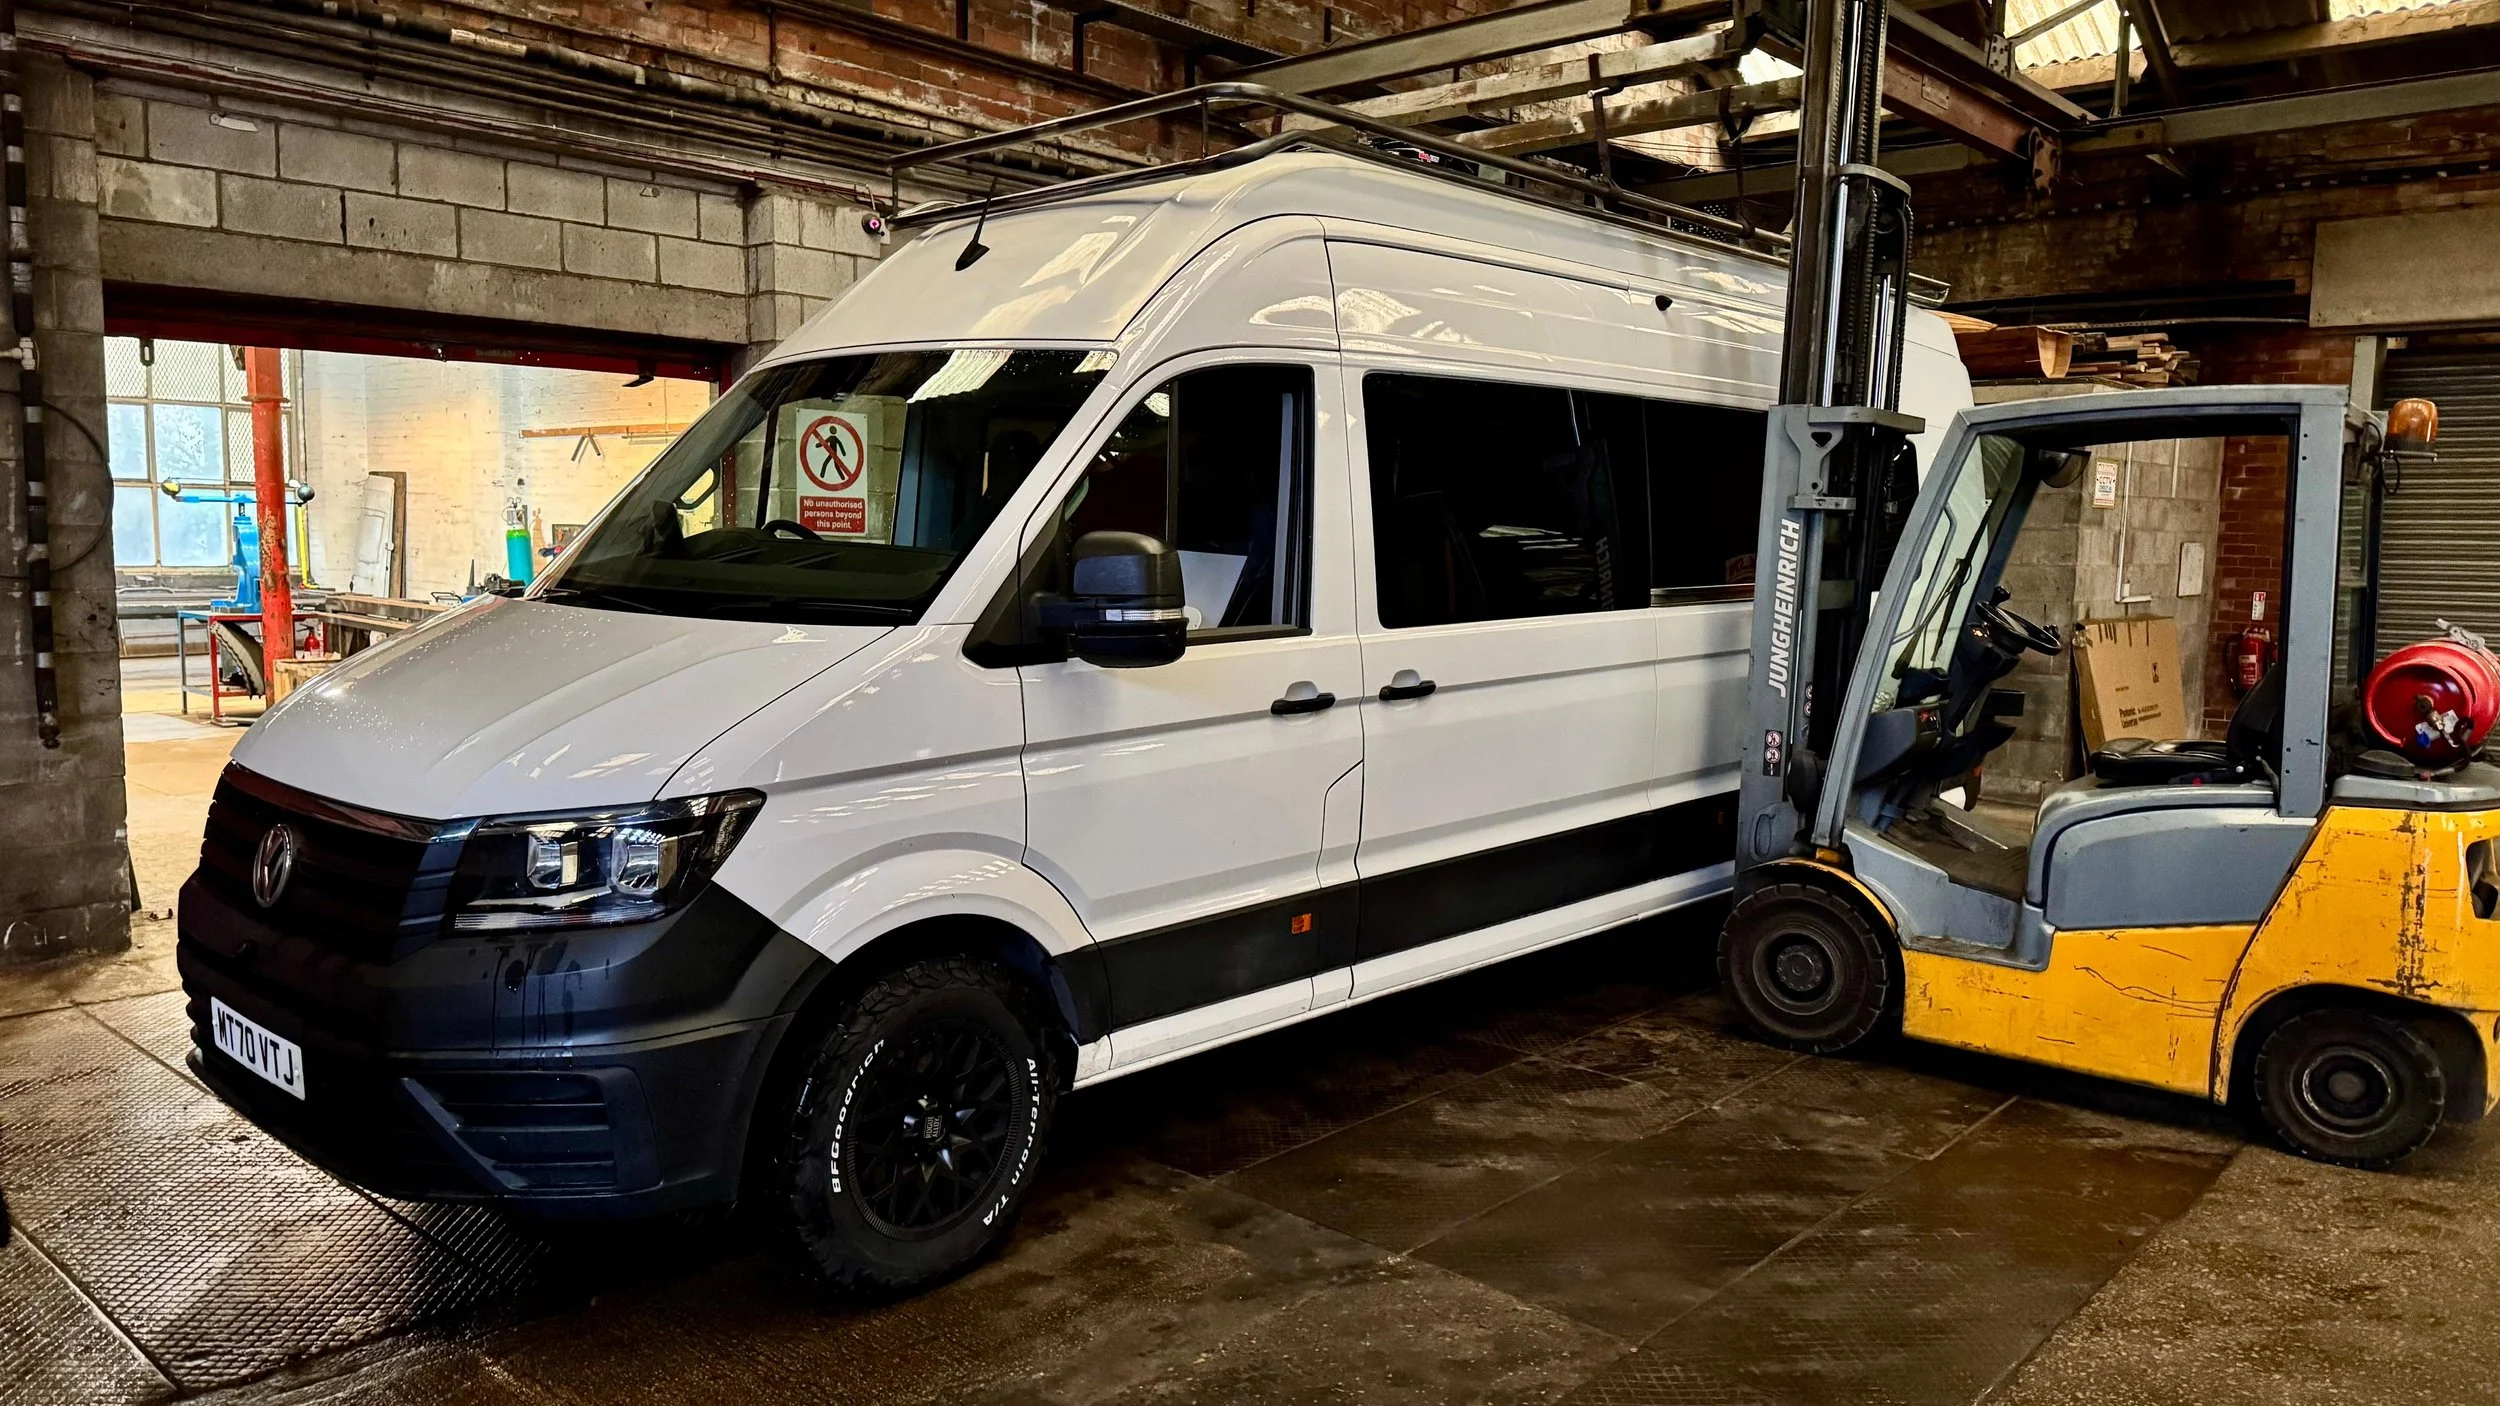
Right before Christmas, we sent the van over to a local garage to get our new wheels and alloys fitted. We went with the Rouge Alloy brand and fell in love with them as soon as they were on!
Looking Good!
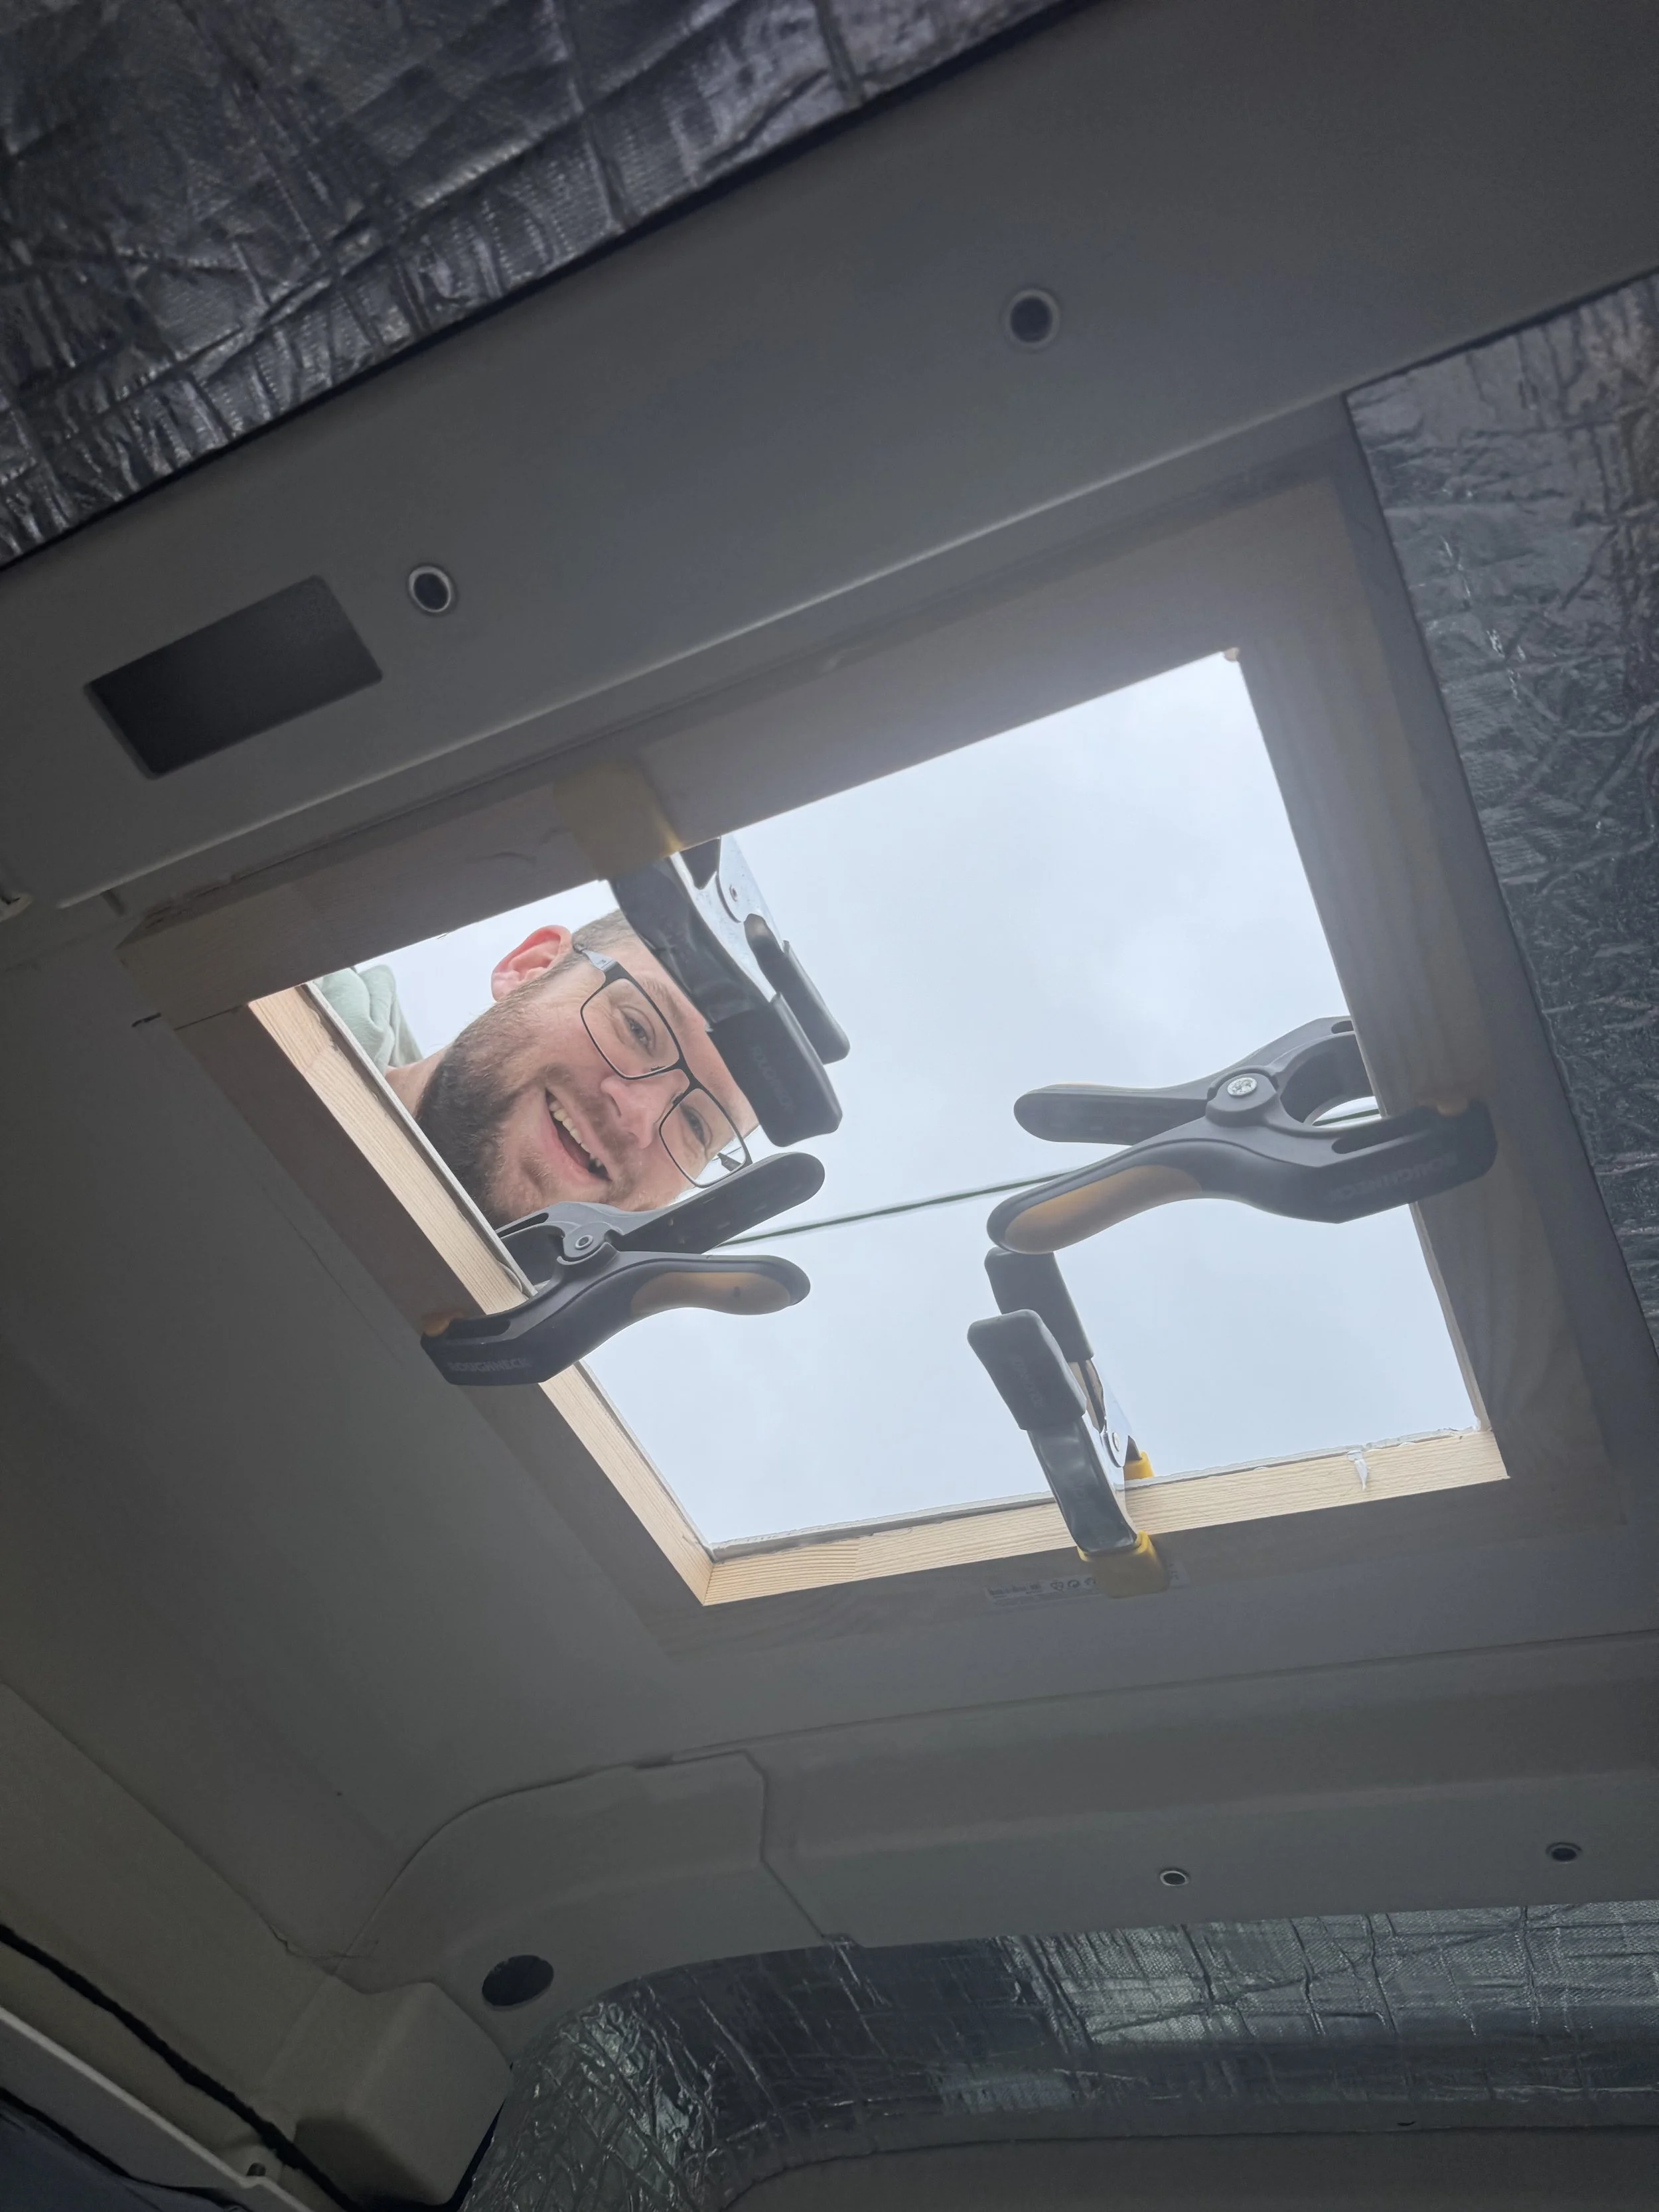
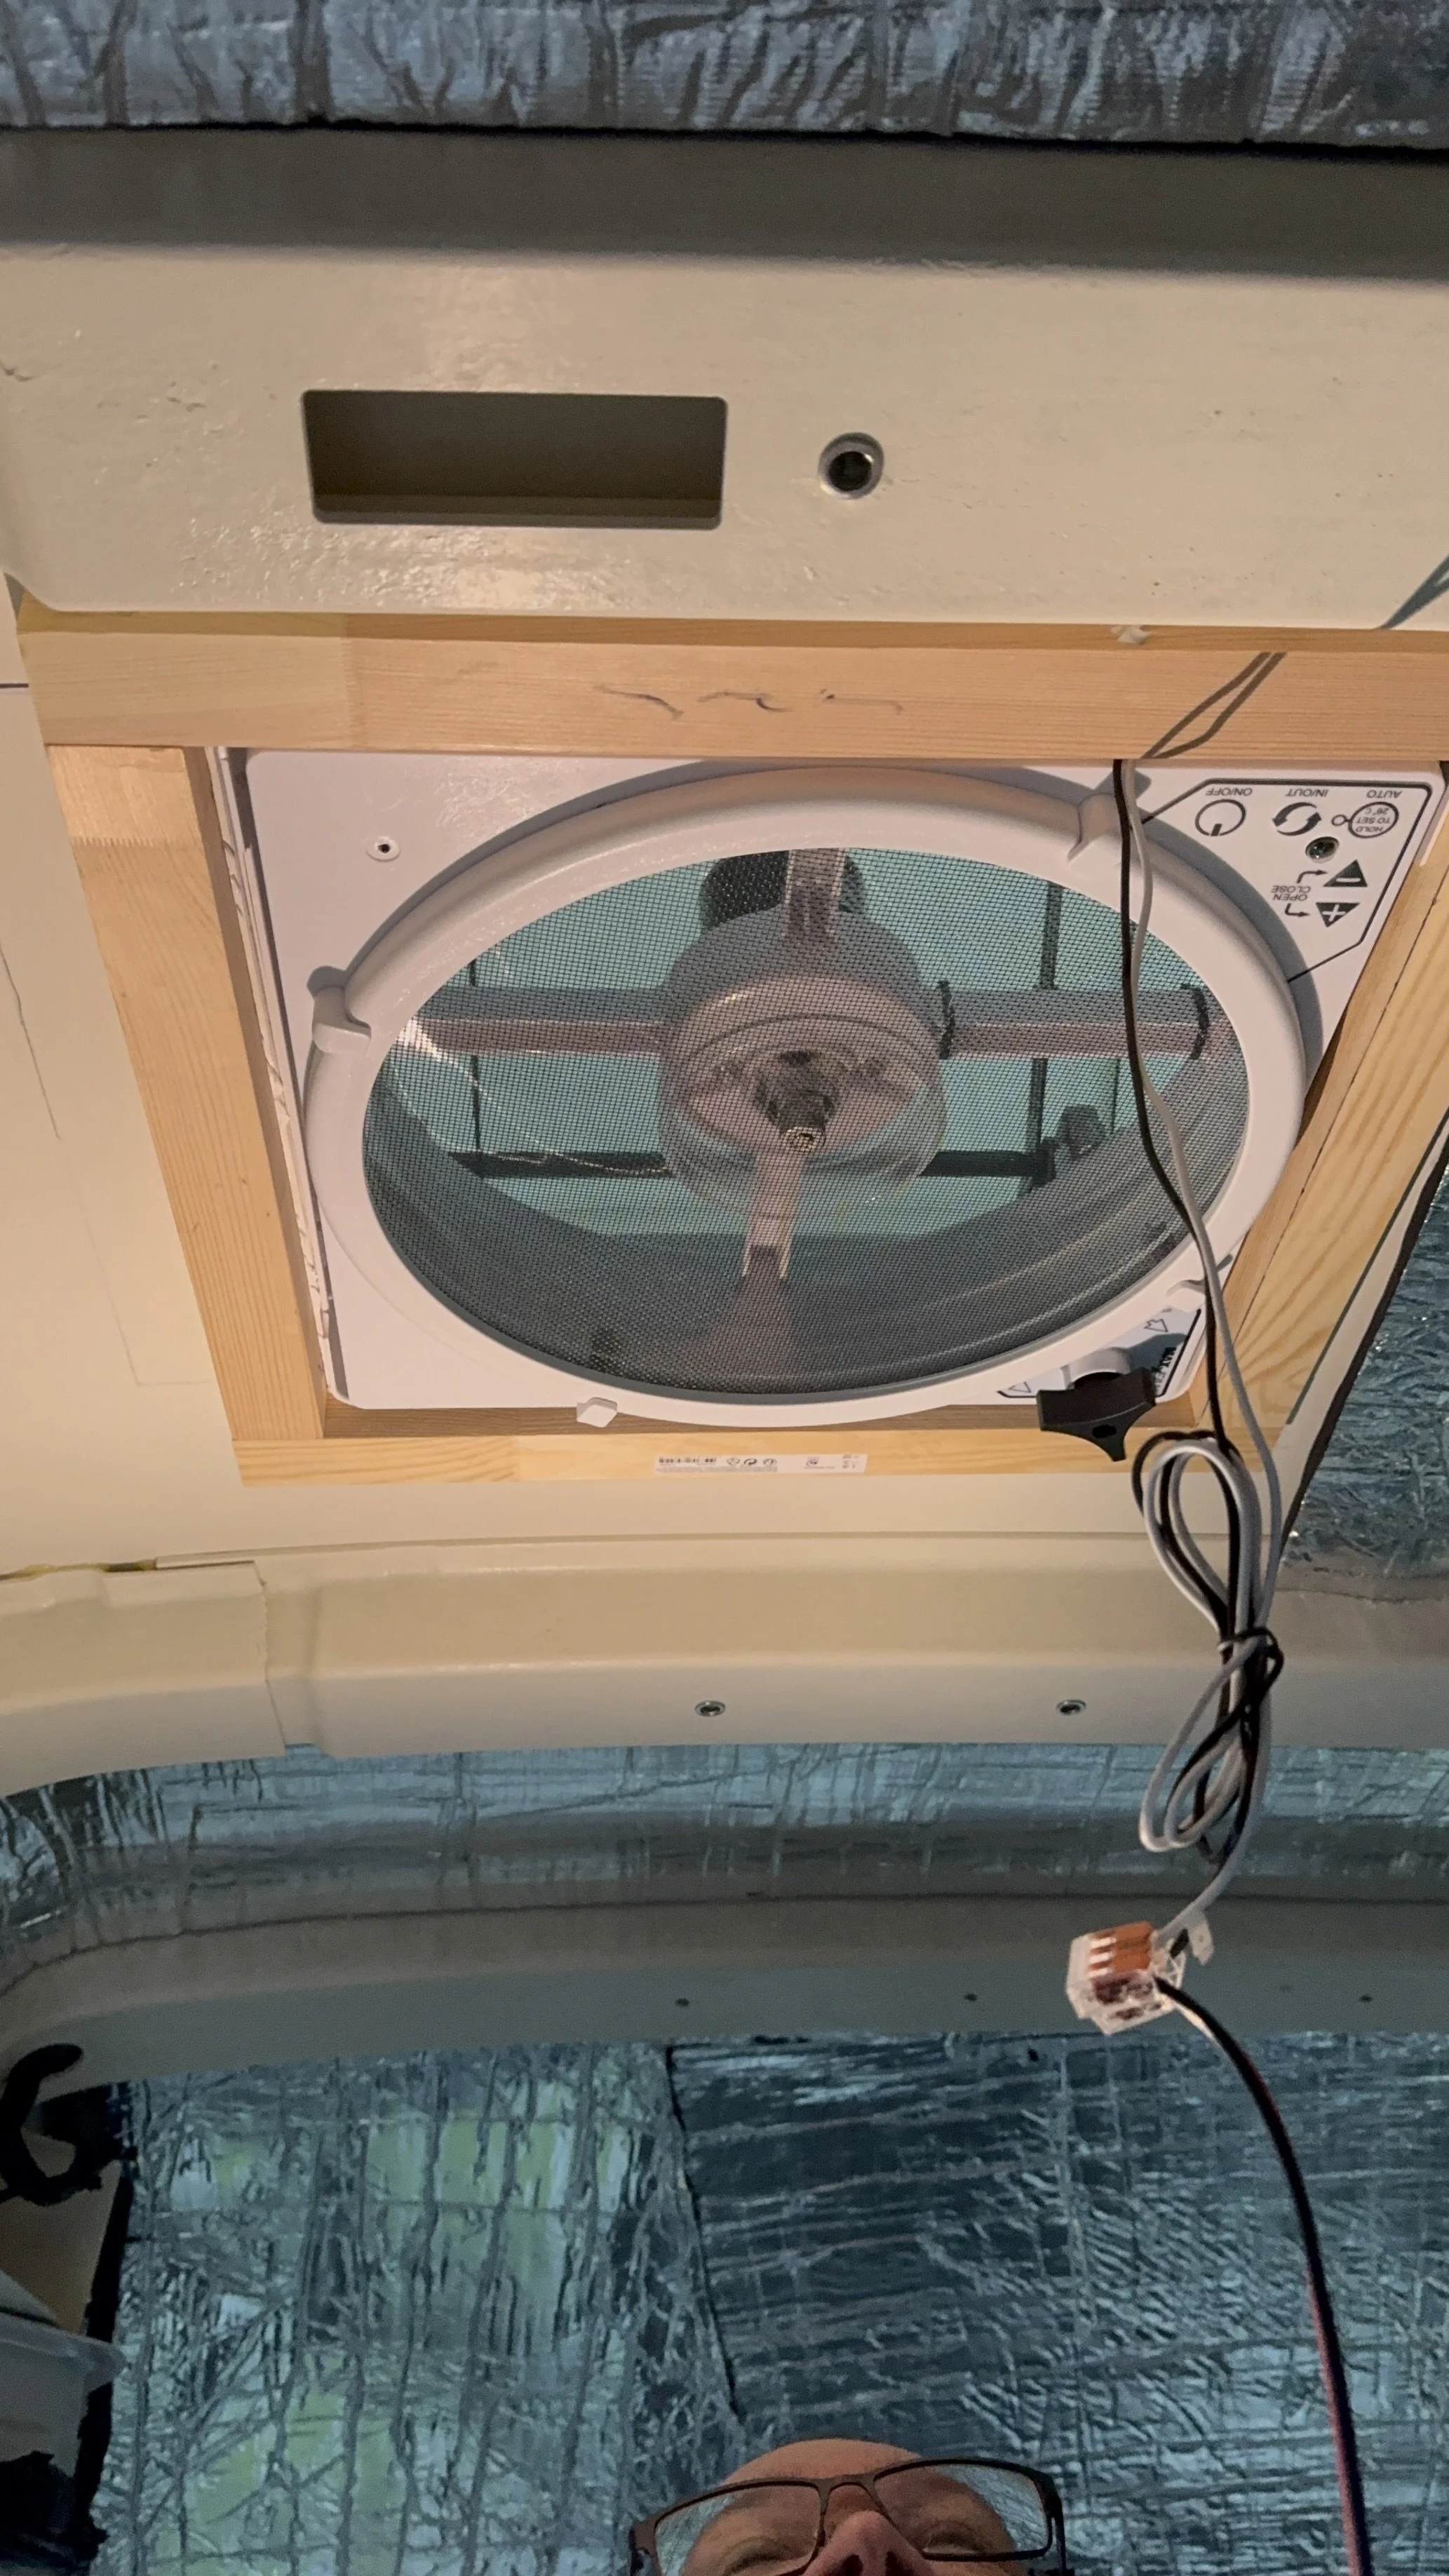
One of the bigger hurdles, which actually turned out to be pretty simple once we found our rhythm, was cutting into the roof for the MaxxAir fans. While we were fitting the last one, Bev lost her grip on the wooden frame and the whole thing landed right on her face. Luckily, no major damage was done, just a bit of a shiner for the weekend and a solid reminder that we probably should’ve been using a step ladder inside!
On a more exciting note, we’ve added a few upgrades: adaptive cruise control, a Ghost immobiliser, and some fancy all-weather rubber floor mats for the front.
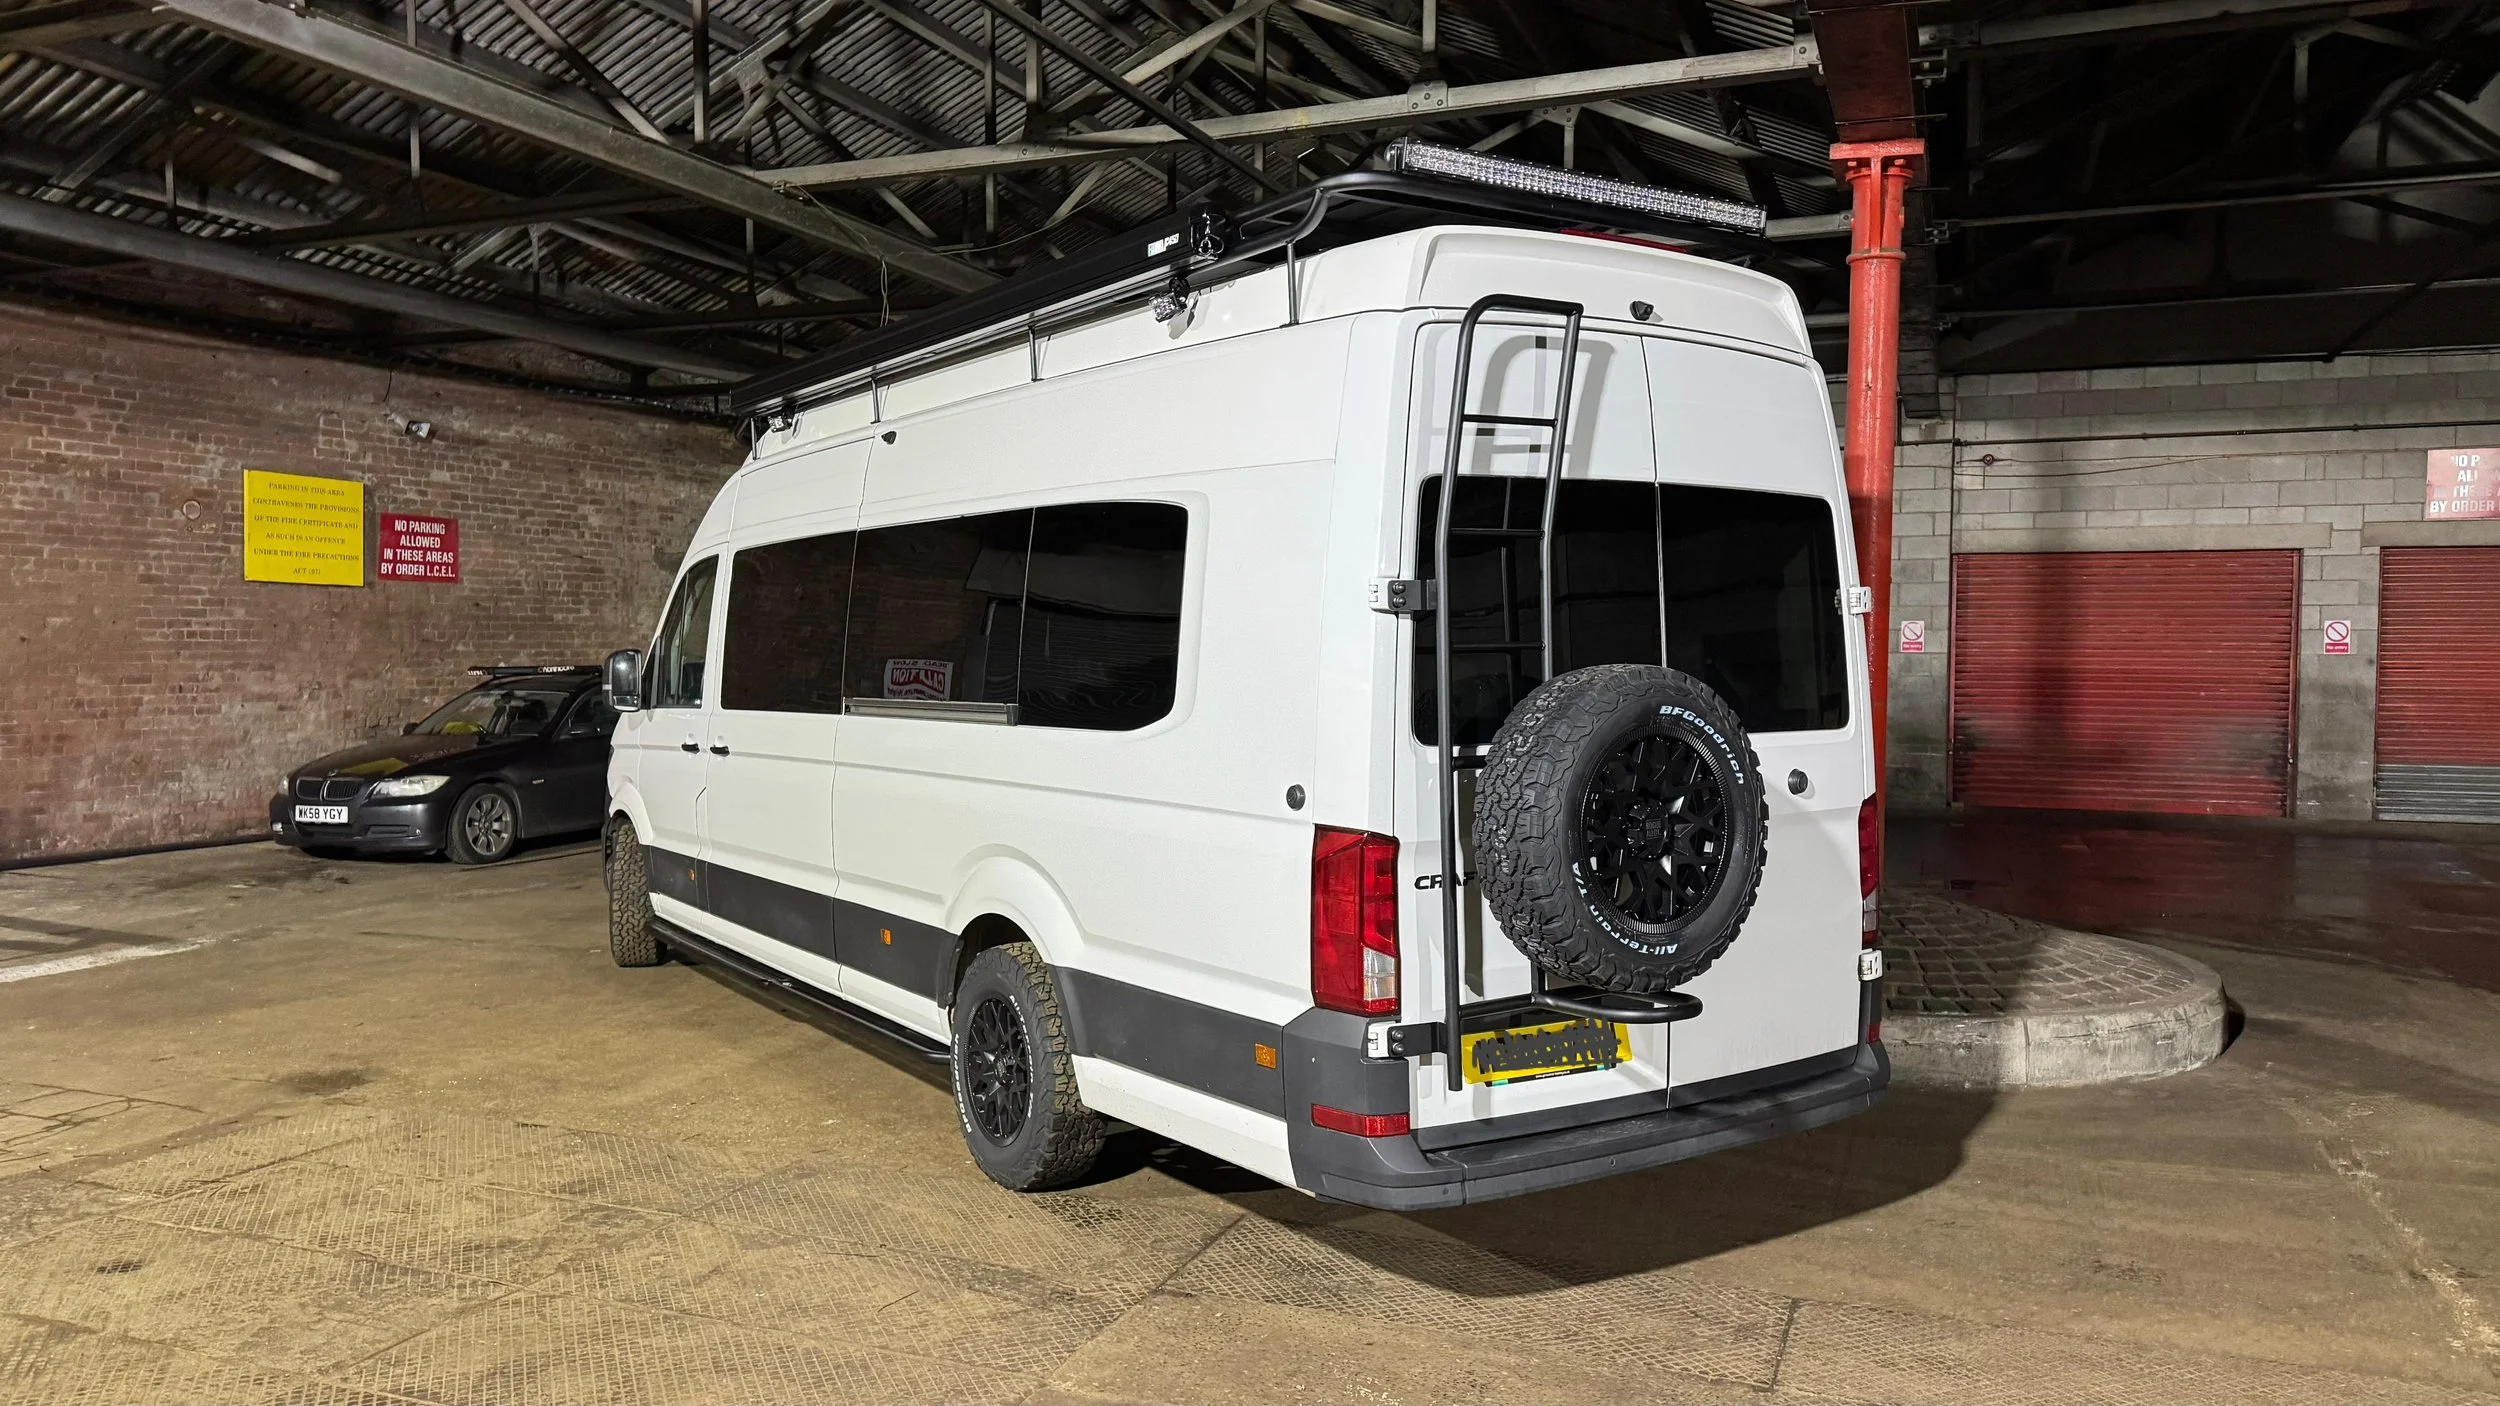
Just before Christmas, Ewan made one last trek out to the west of the country to get the roof rack and spare wheel sorted. We’ve done that drive so many times since October, so seeing everything finally installed was amazing! Because we have the extra-high roof, the rack had to be custom fitted around the fibreglass and into the structural frame. It wasn't an issue at all and still gives us plenty of room for the essentials.
We’ve got the solar panels, awning, and exterior lights all rigged up to the rack, and we’ve even left a dedicated space to fit our Starlink so we can have proper internet on the road. The spare wheel is mounted right onto the ladder, which leads up to a mini deck, perfect for accessing the solar panels and roof electrics!
Now that the exterior finally looks like a proper camper, we’ve officially ordered our personalised plates. We honestly can't wait to get this thing out on the open road!
Our van is slowly looking more like a home on wheels. We are excited to share the process with you all.
Thanks for following along with our journey,
Bev and Ewan
Want to stay updated? Sign up below to get notified whenever we post a new blog!